In this multi part blog series we will focusing on setting up a Veeam lab using the completely free community edition which you can do on a computer you already have, or something very affordable
So, what specs will we need for this, I recommend the following
- Modern CPU, ideally 6+ cores, but 4 will get you by
- 24GB RAM, 32GB is ideal, 16GB likely wont be enough on Windows 11
- ~500GB of storage, this depends on how much you want to do
So, what am I using for this demo, I have the a PC with the following
- 8 Core AMD Zen3 based CPU (Ryzen 75700x)
- 32GB RAM
- OS is entirely up to you, use what you like, I opted for Windows Server as it uses less RAM
- 500GB SSD
- Virtualization enabled in the BIOS, this will vary depending on your system motherboard
I chose this setup as its going to represent most peoples setups
If you have used hypervisors, like Proxmox, before and have a dedicated PC you are using as a Veeam lab, you can install Proxmox directly and bypass the need for Windows and VMware Workstation, this is the most efficient way of doing things, saving a fair bit of RAM and increasing performance, but its much more advanced and required a dedicated computer, so this is why I didnt show this method, most people will be using their laptop/desktop that they also use for everything else
Now we have our computer for the lab, what software will we be needed and where can we get it
You’ll need to download all of the below, they usually need either an account, or some sign up info providing, but its all completely free
I opted for VMware workstation as I prefer it and its available on all platforms, Hyper-V is another option, however it requires Windows Server or Windows 11 Pro, Virtualbox is also another solid option
We can skip downloading the Veeam community edition now, we’ll want to download that at a later stage
- Veeam Community Edition can be found here
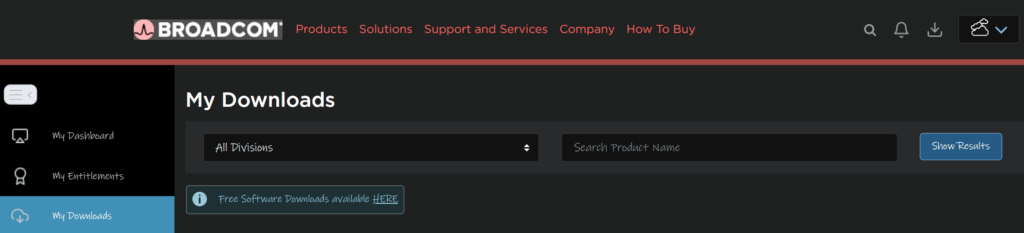
- VMware workstation can be downloaded here
- Windows Server 2025 can be found here
- The latest Proxmox version can be found here
- Proxmox Windows disk drivers can be found here
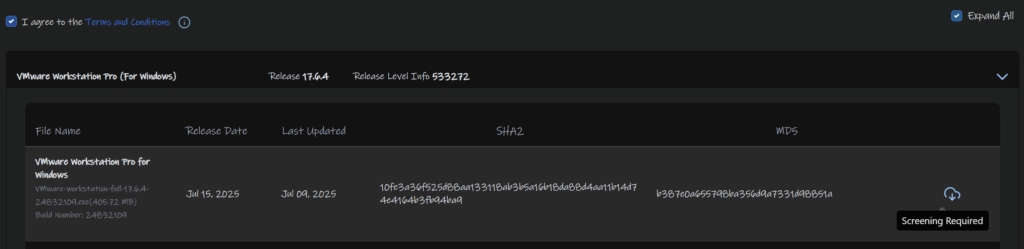
Workstation can be found under Downloads and then click the link for free software
Search and select VMware Workstation Pro
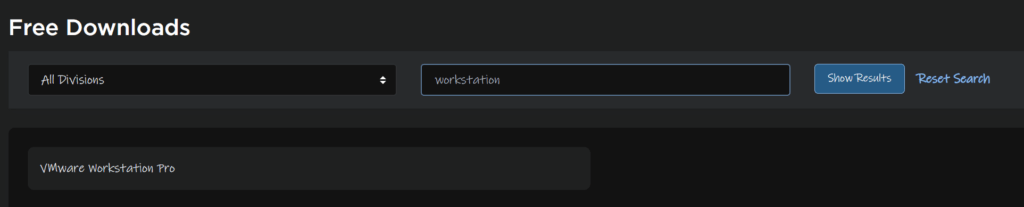
Select the latest release

Click the link, this will allow you to then check the box to accept the T&Cs
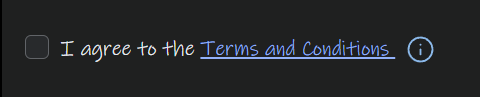
Then click the cloud icon to download the software
1 – Installing VMware Workstation
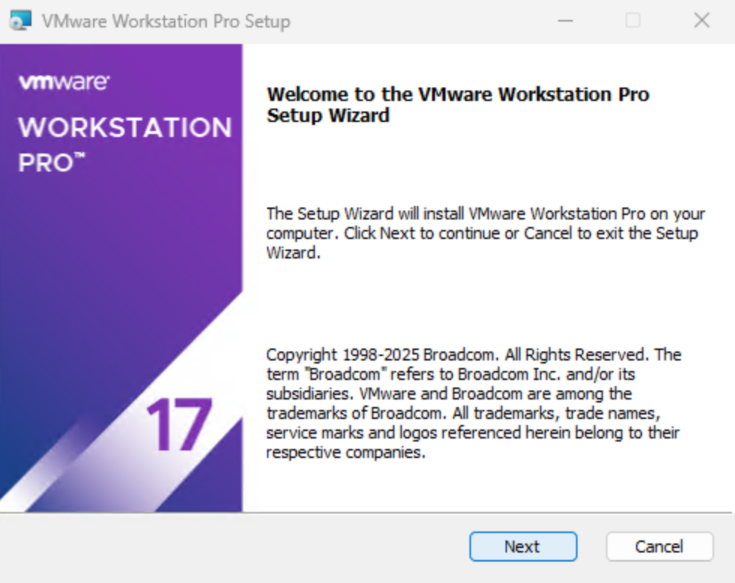
Double click the downloaded file for Workstation

Click Next
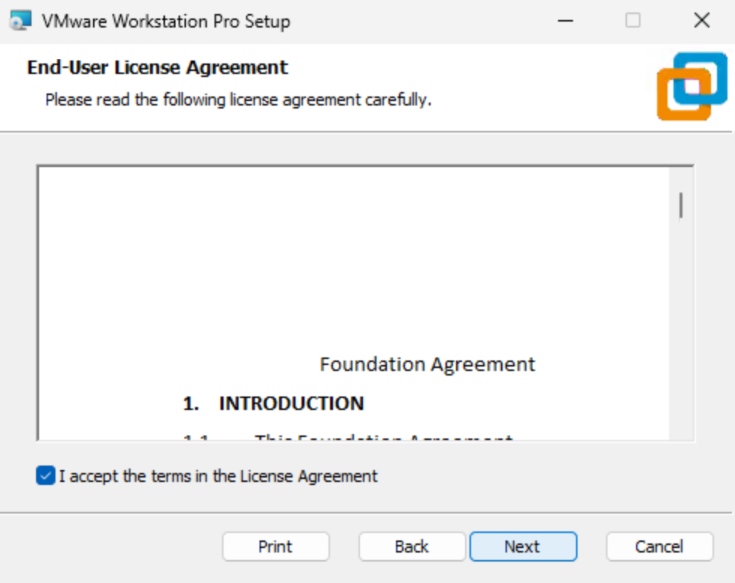
Accept the EULA and click Next
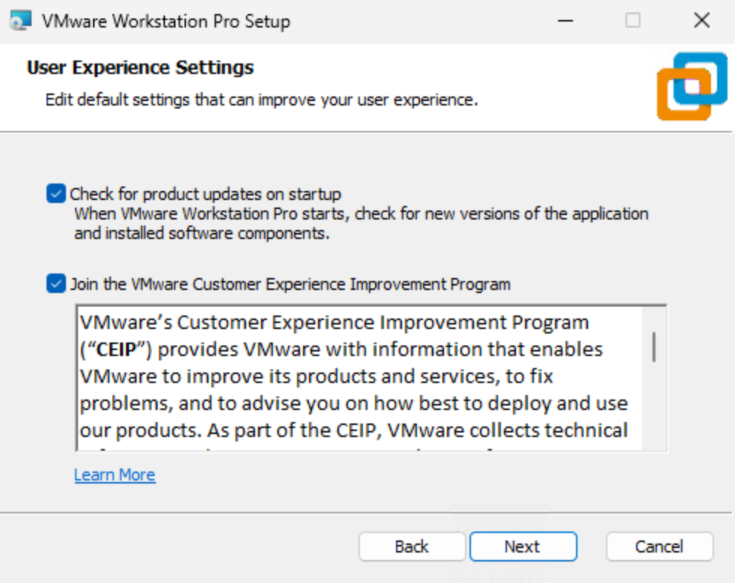
Click Next
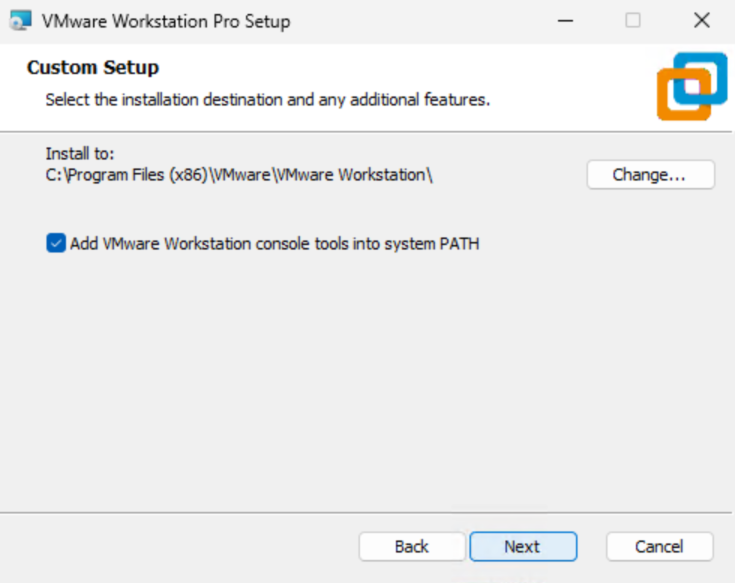
Click Next here
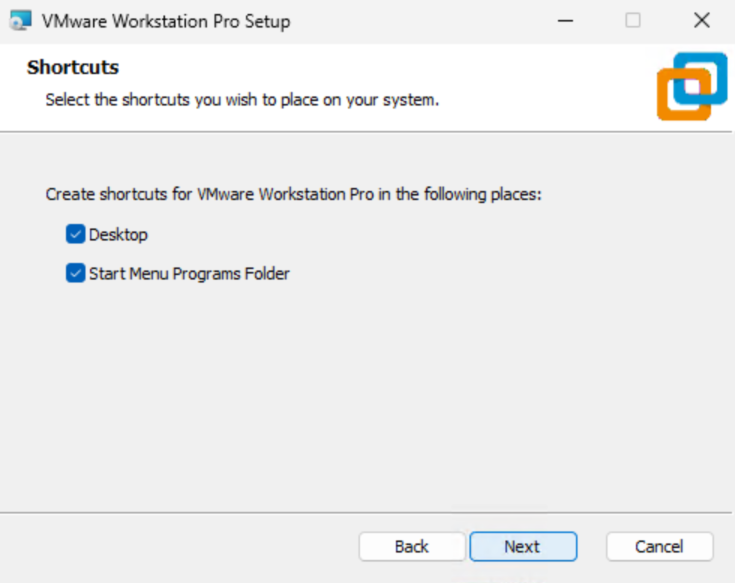
Click Next again
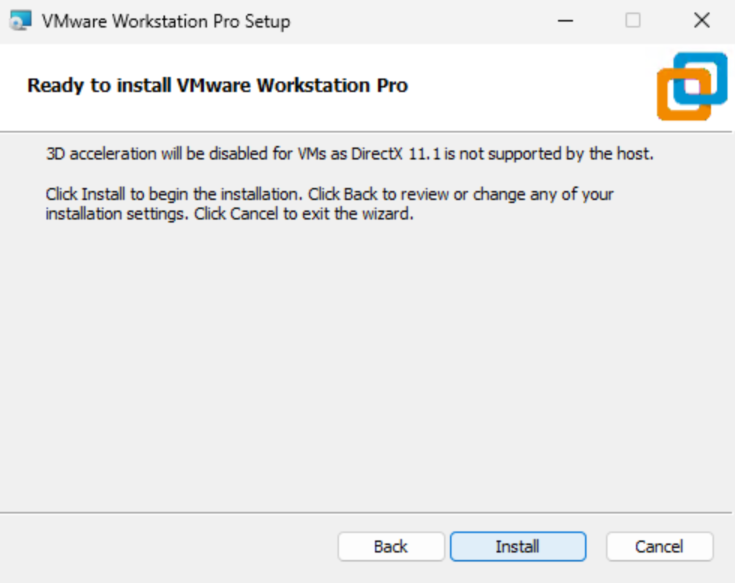
And click install
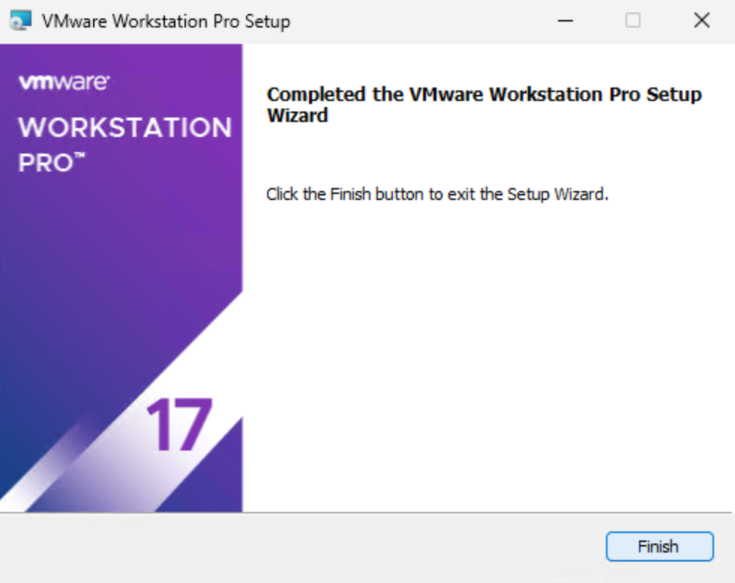
When its done click Finish
2 – Creating The Proxmox VM
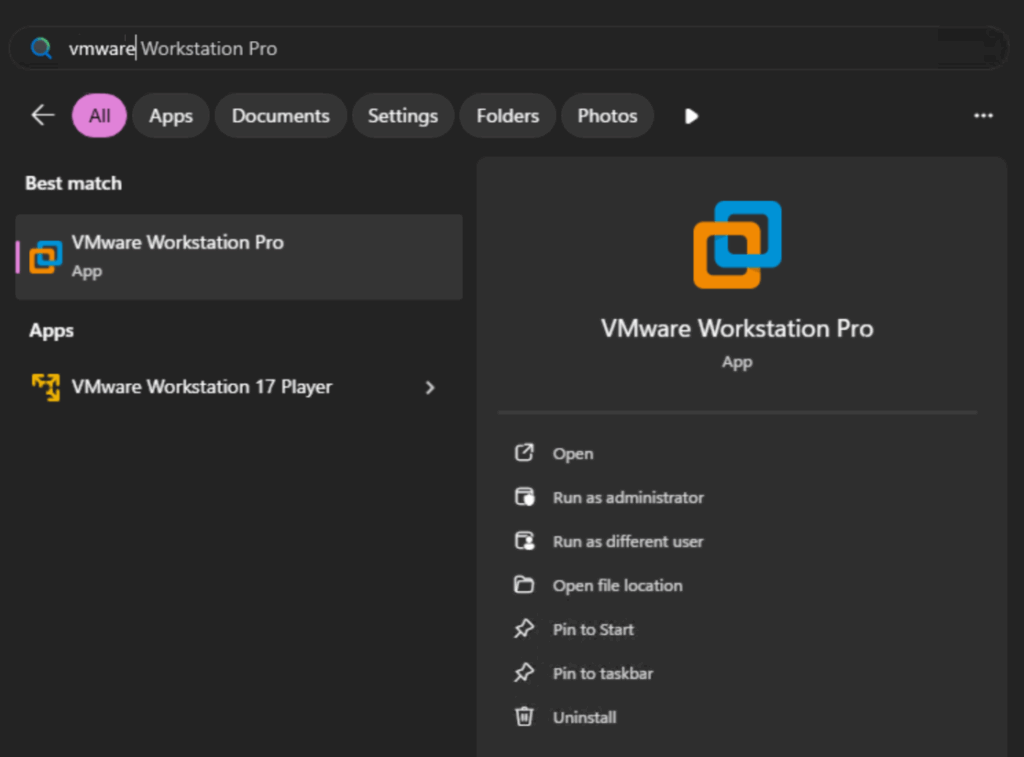
Search for and open VMware Workstation Pro
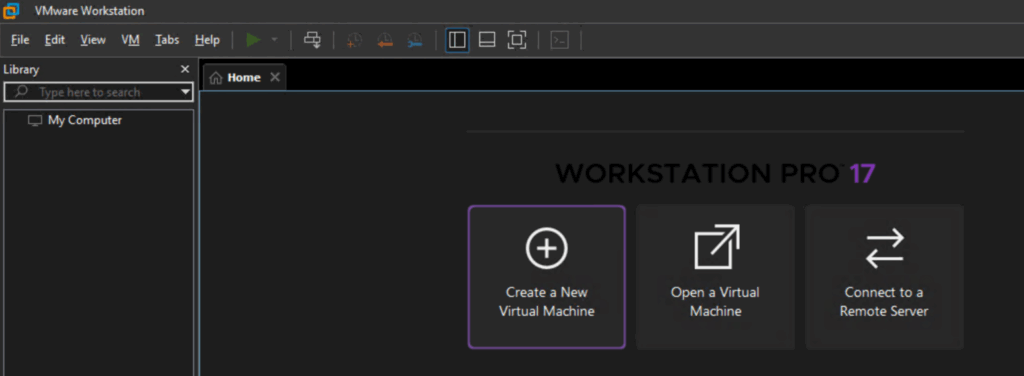
Click Create New Virtual Machine
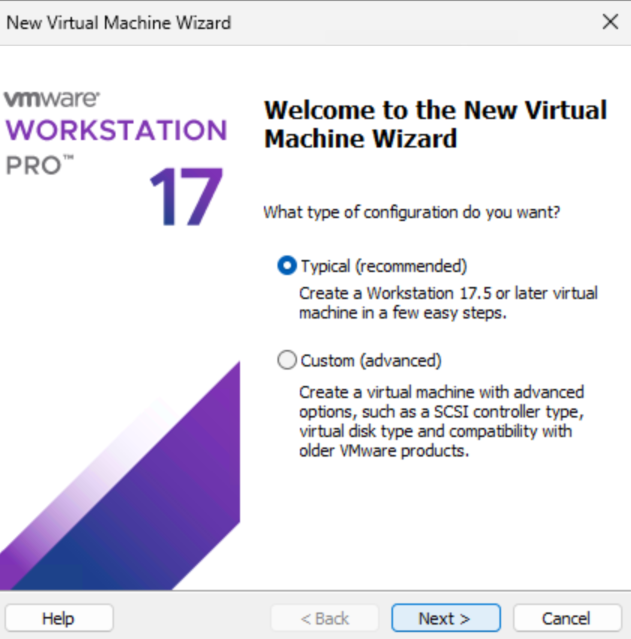
Click Next
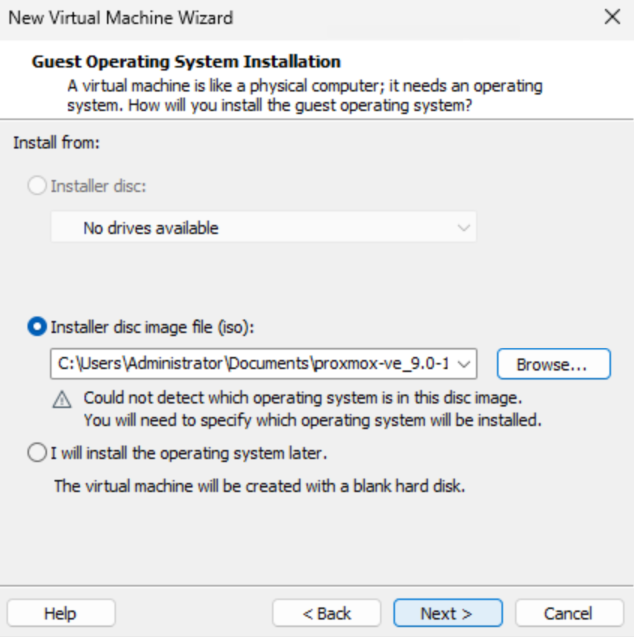
Click Browse on the Installer Disc Image File section
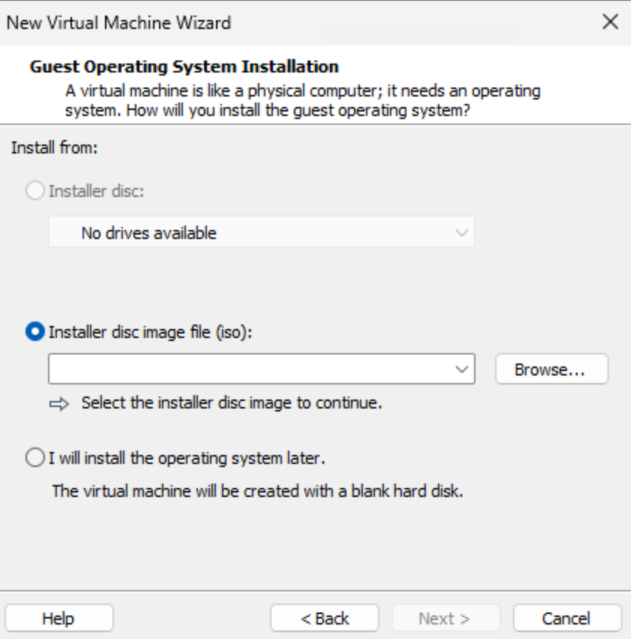
Double click the Proxmox ISO

Then click Next
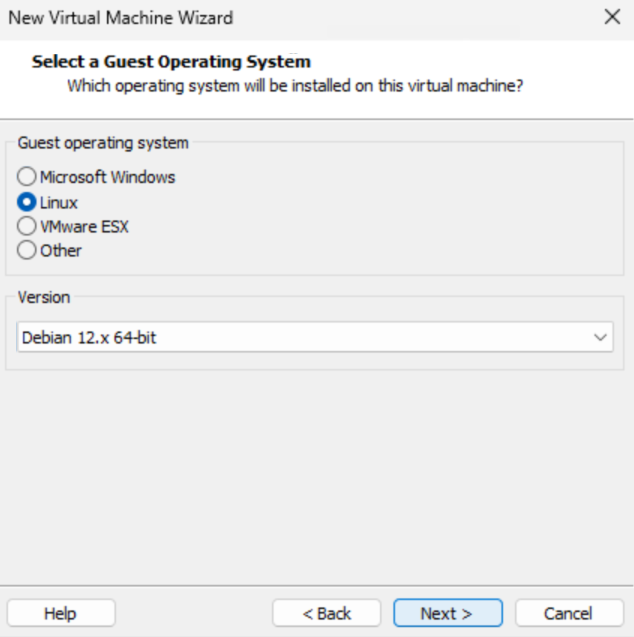
For the guest operating system, select Linux, and use the drop down to select Debian 12.x 64Bit, then click Next
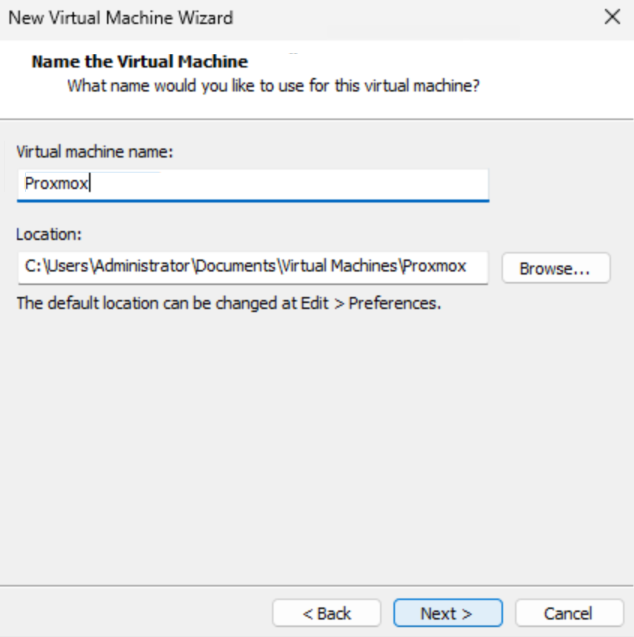
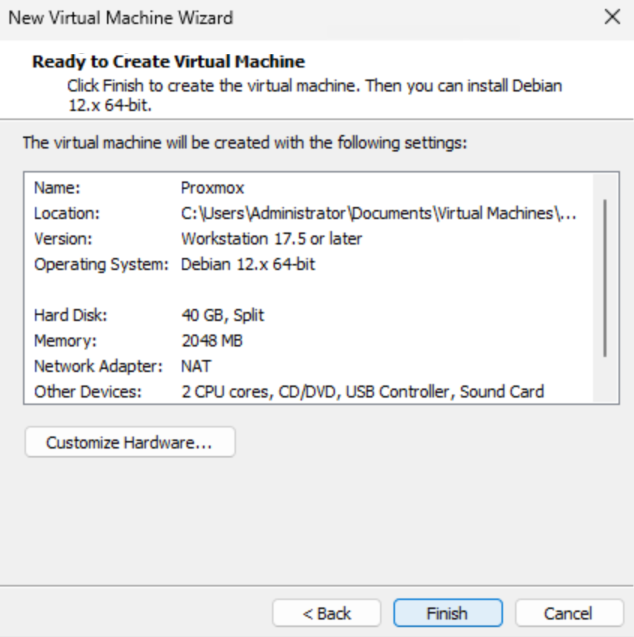
Enter a name for the Proxmox VM, I just called it Proxmox
We also need a file path, as I only have 1 drive on my computer the default is fine, but if you need to change it you can
Then click Next
Change the disk capacity to 40GB, this will be our Proxmox boot volume, then click Next
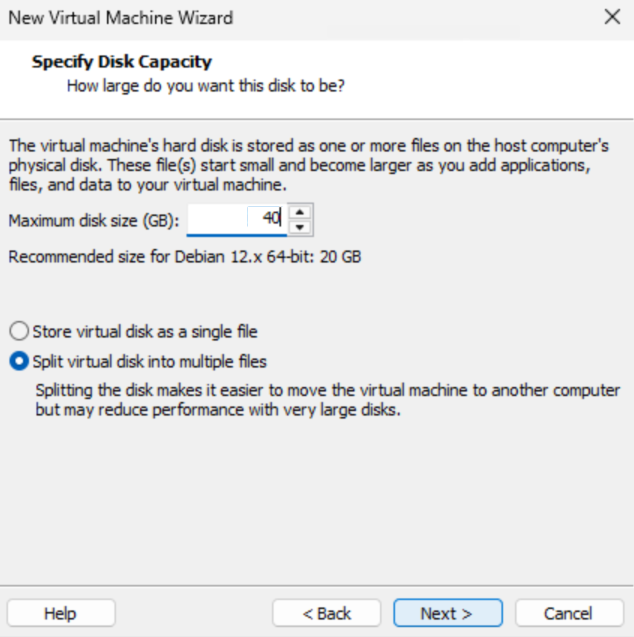
Then click Finish
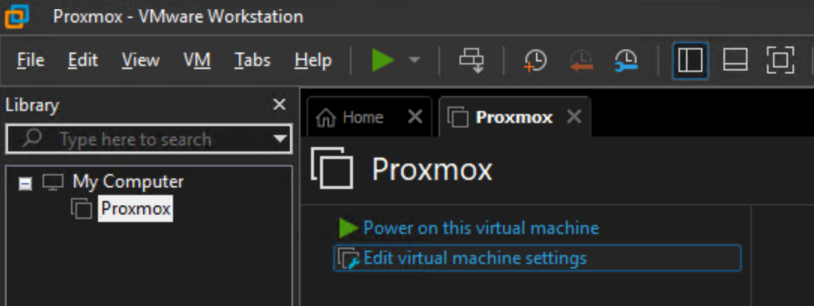
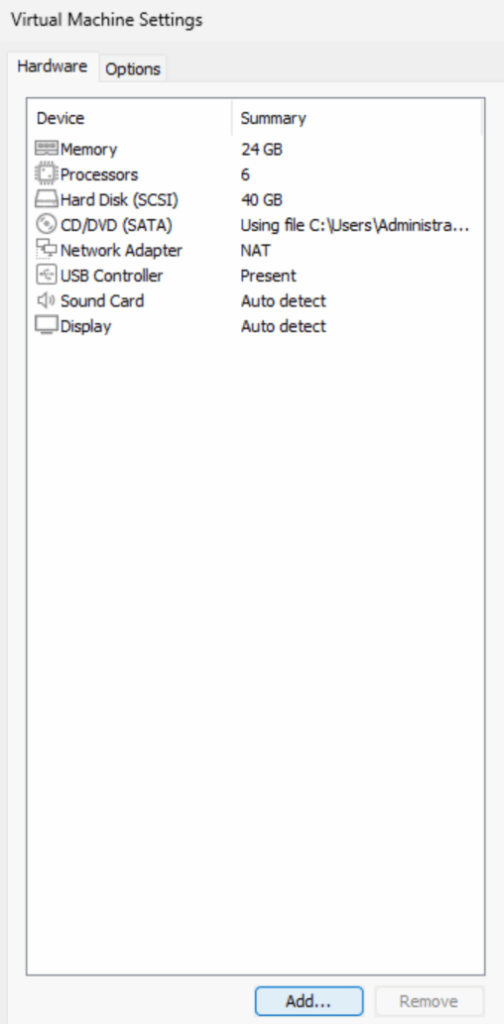
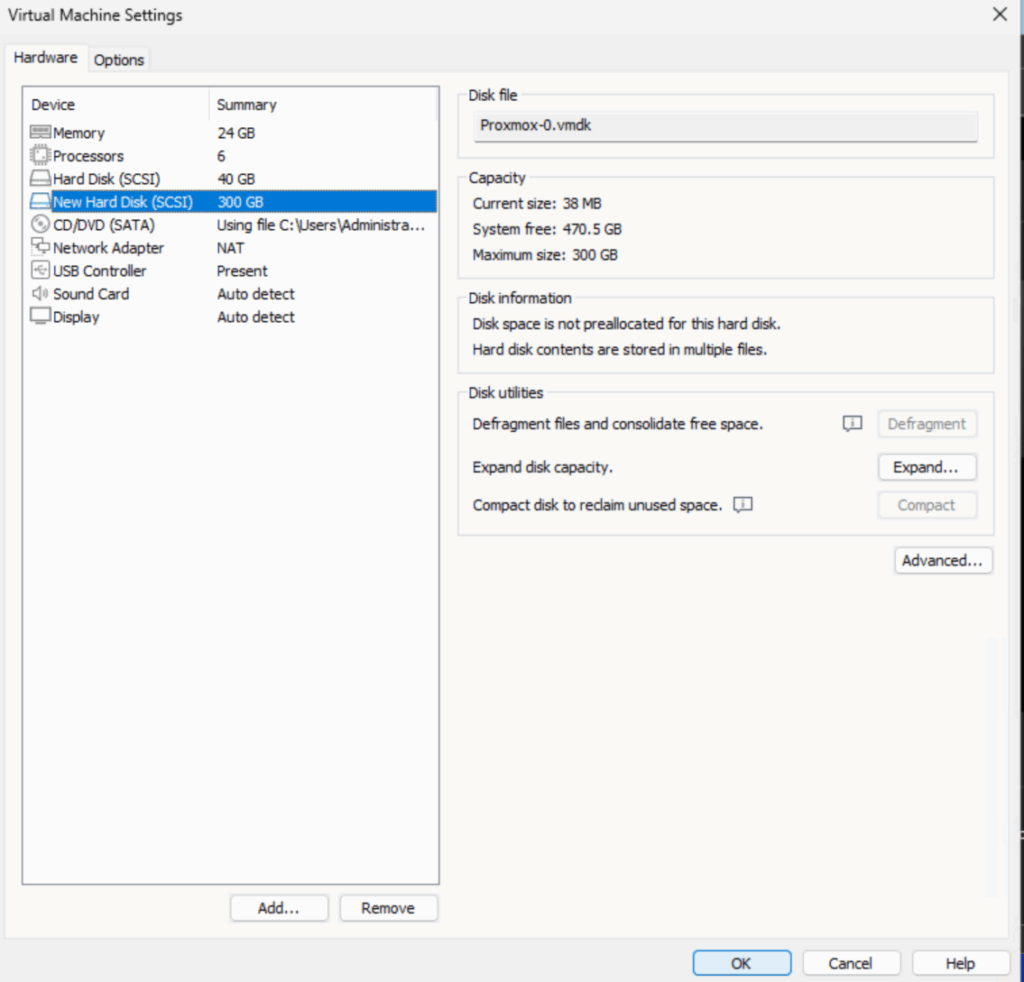
We need to make a couple more edits, click the VM and click Edit Virtual Machine Settings
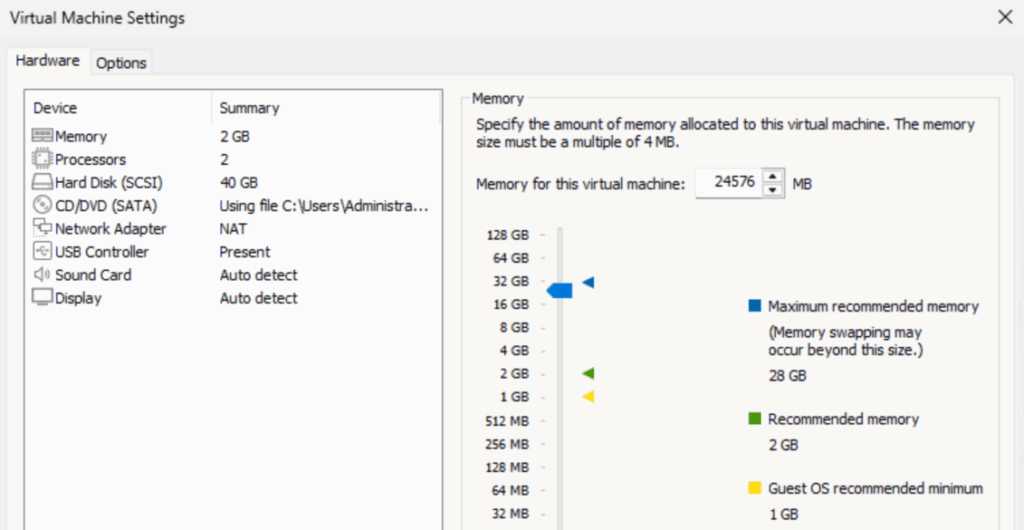
The default page will be memory, which will need increasing, you will want to leave 8GB for Windows, if youre running that like myself, so I set this to my system memory subracting the 8GB, so 24GB, you can adjust this as needed for your system specs
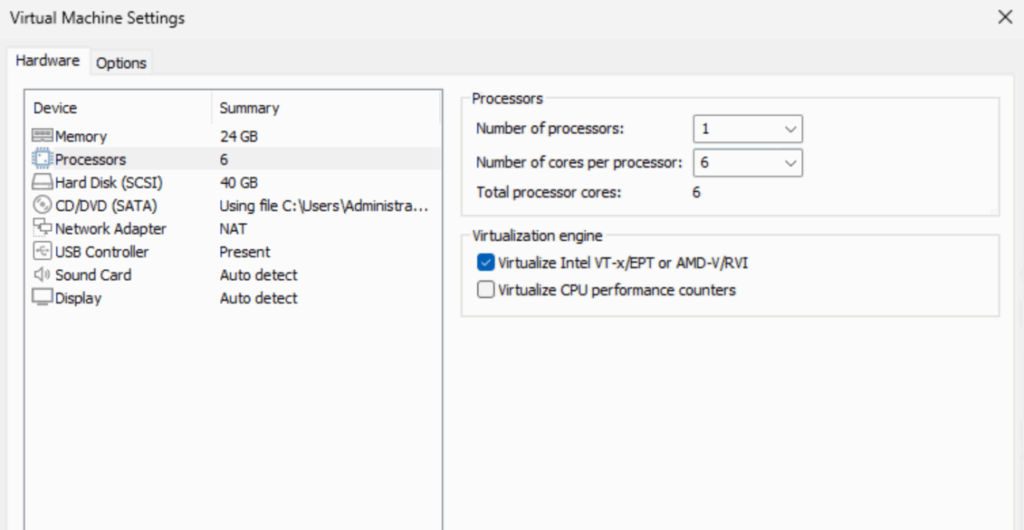
Click processors, set the number of processors to 1, this is a must, then set the number of cores per processor to what you want
I recommend leaving 2 for the OS, so as I have 8 I used 6, if you have a 4 core CPU, you can try 3, as long as you dont have much else running on your computer it should be fine, if not you can always adjust it to 2 cores later
We also need to check the box to virtualize Intel VT or AMD-V
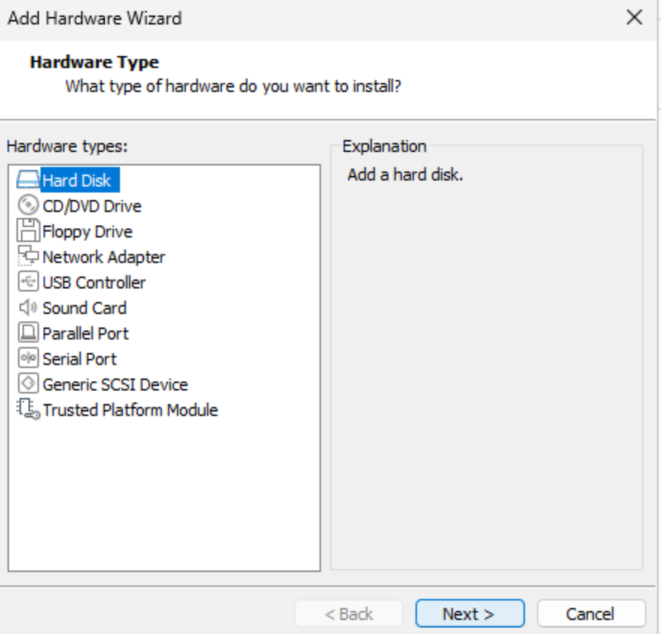
On the left side, click Add at the bottom
Click Hard Disk and click Next
Click Next
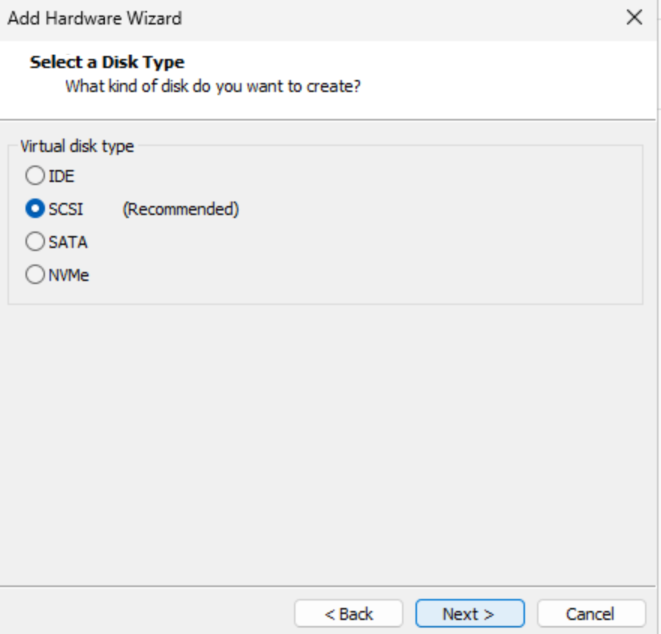
Click Next again

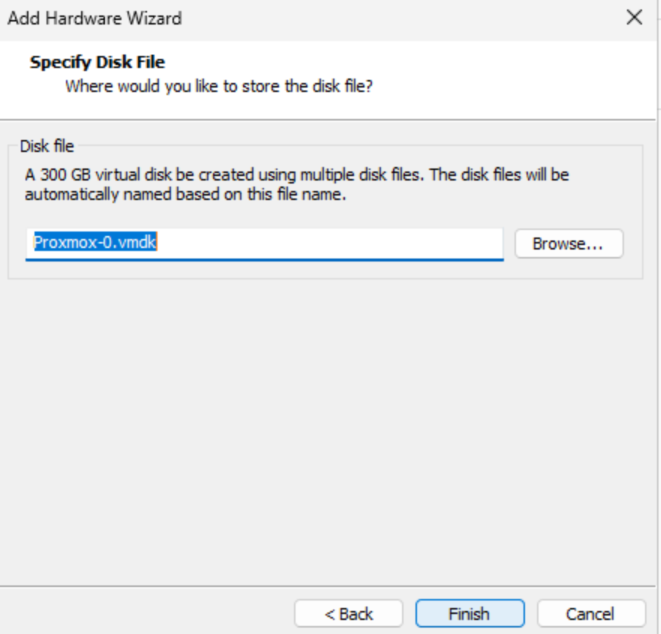
And set the disk size for all our VM data, like VBR and backups, just make sure you dont overfill your computer, then click Next
You can optionally check the box to allocate disk space now, this will immediately use the entire space you entered on your computer, which can be beneficial as you cant overfill your PC
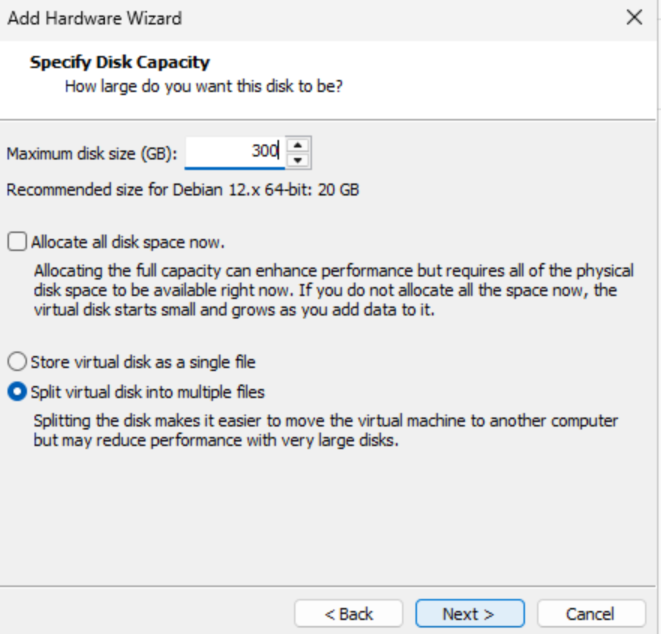
And click Finish
Lastly, click Ok
3 – Installing Proxmox
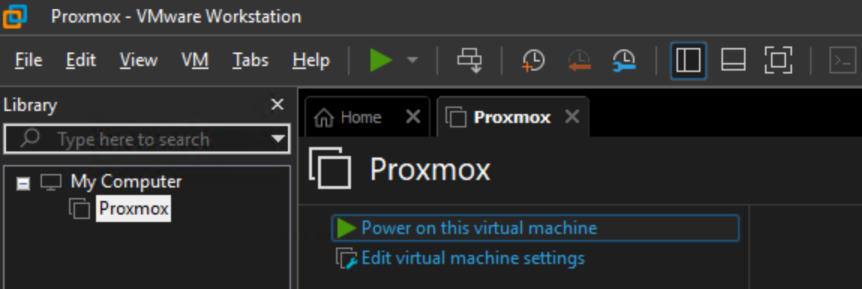
Click the Proxmox VM and click Power On This Virtual Machine
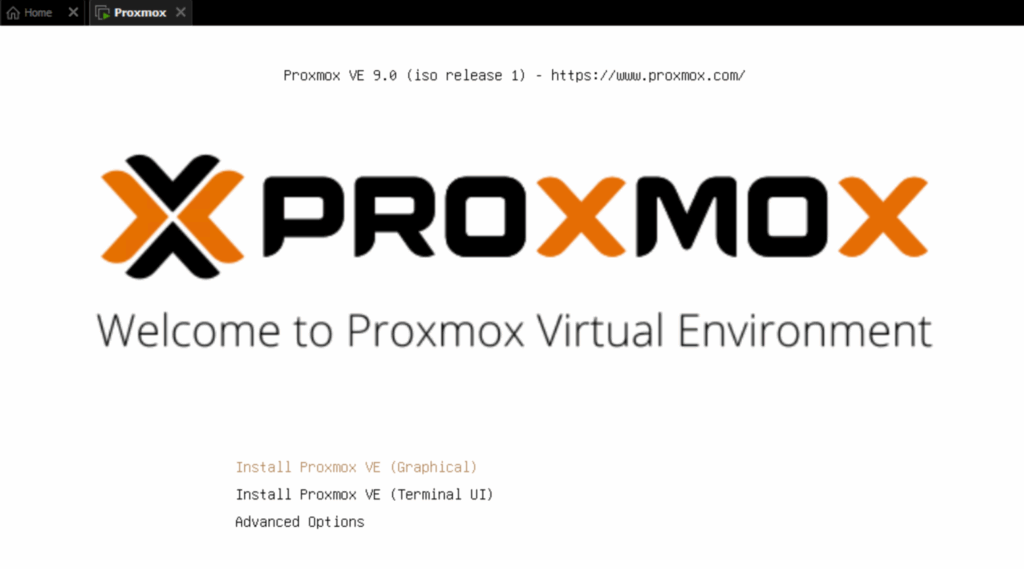
You will then see this screen after a minute or so, press Enter on the top option, we’ll want the install GUI
You’ll see a bunch of commands being run, wait a bit until the GUI loads and click I Agree on the EULA
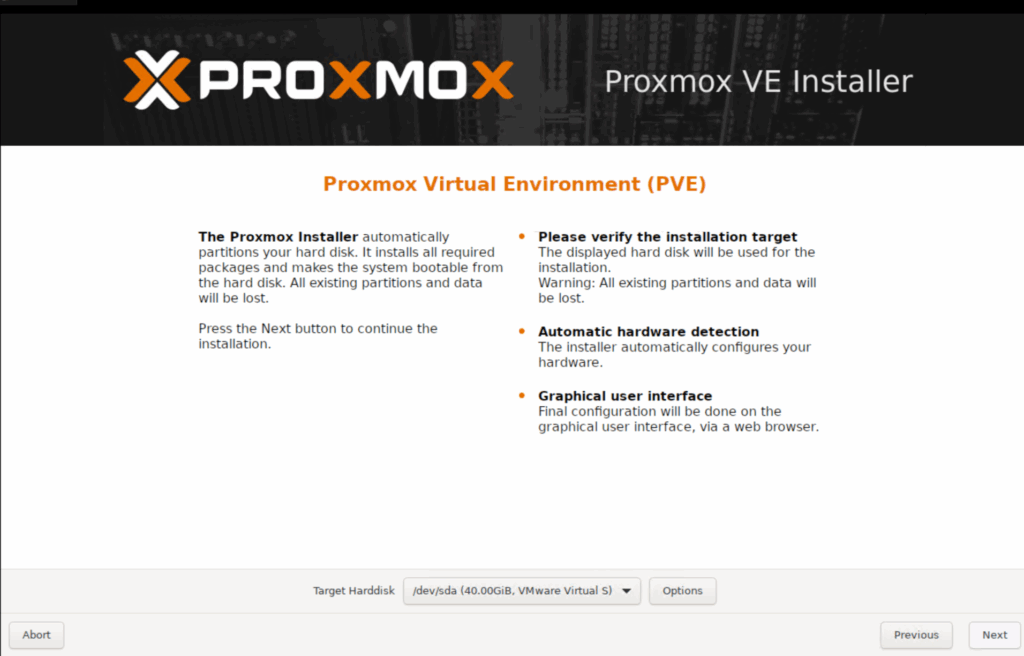
At the bottom, make sure the 40GB disk is selected and click Next
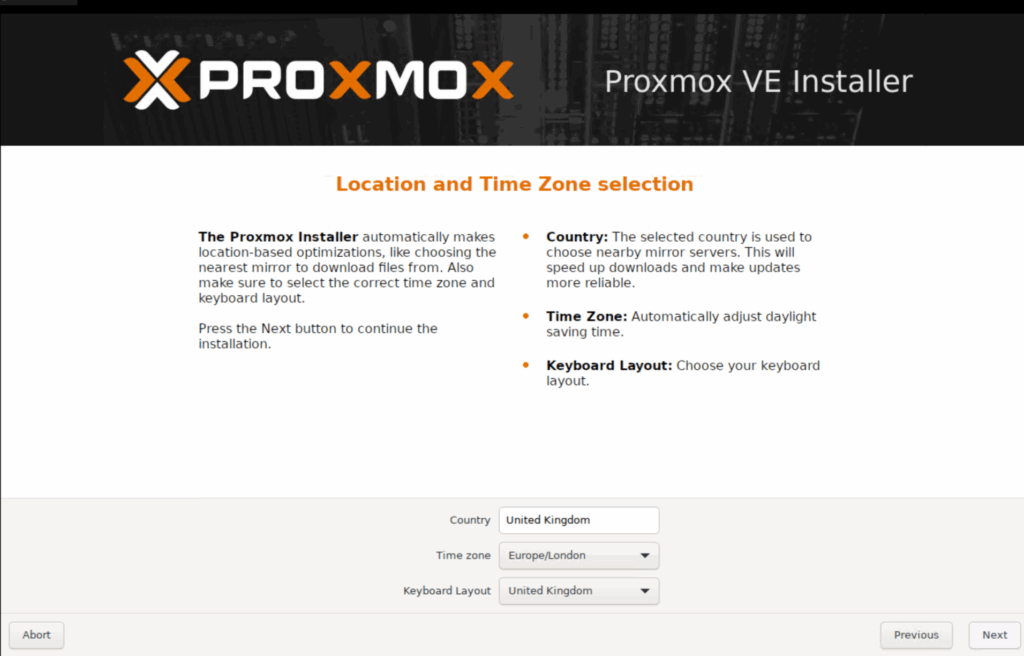
Enter your country, keyboard and timezone, then click Next
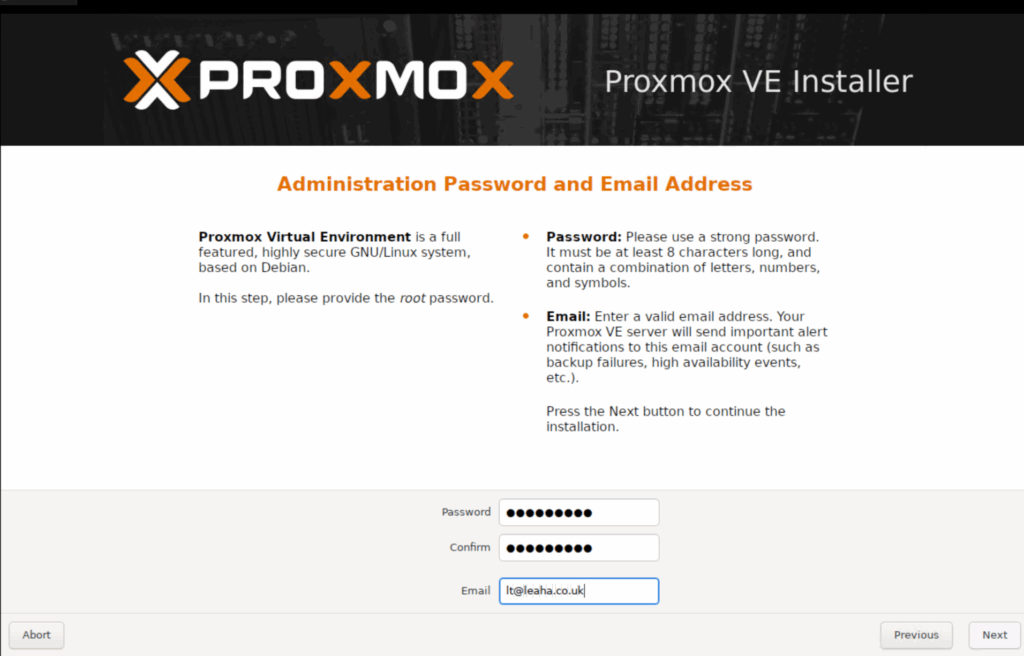
Enter a password, I recommend something easy to type, as its a lab, security isnt important, you then need an email address, dont worry, it wont be sending any to your address, then click Next
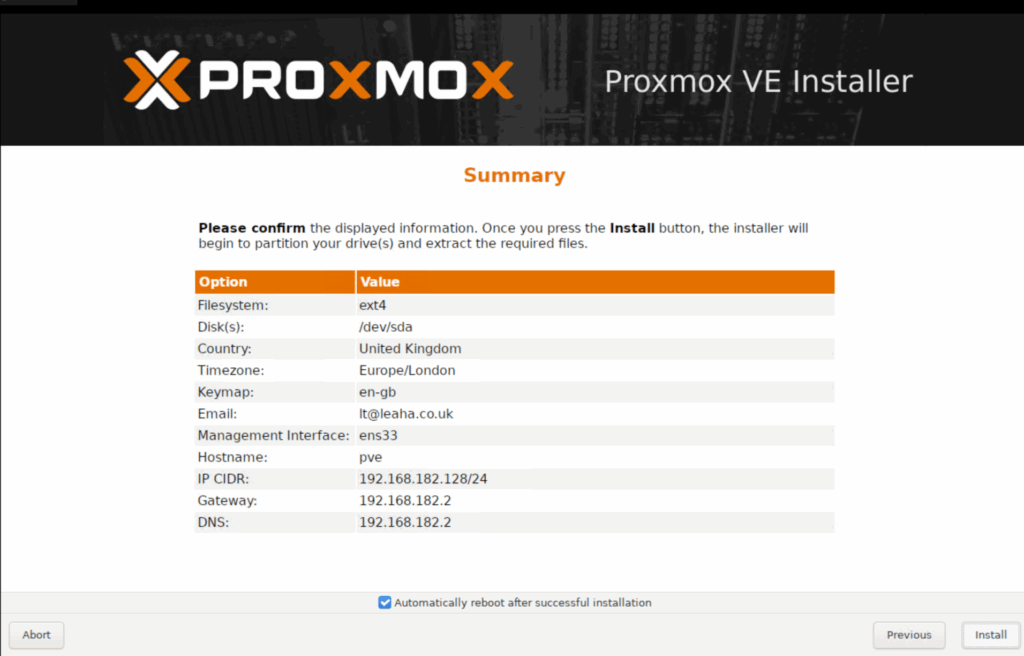
Click Next here and dont change anything
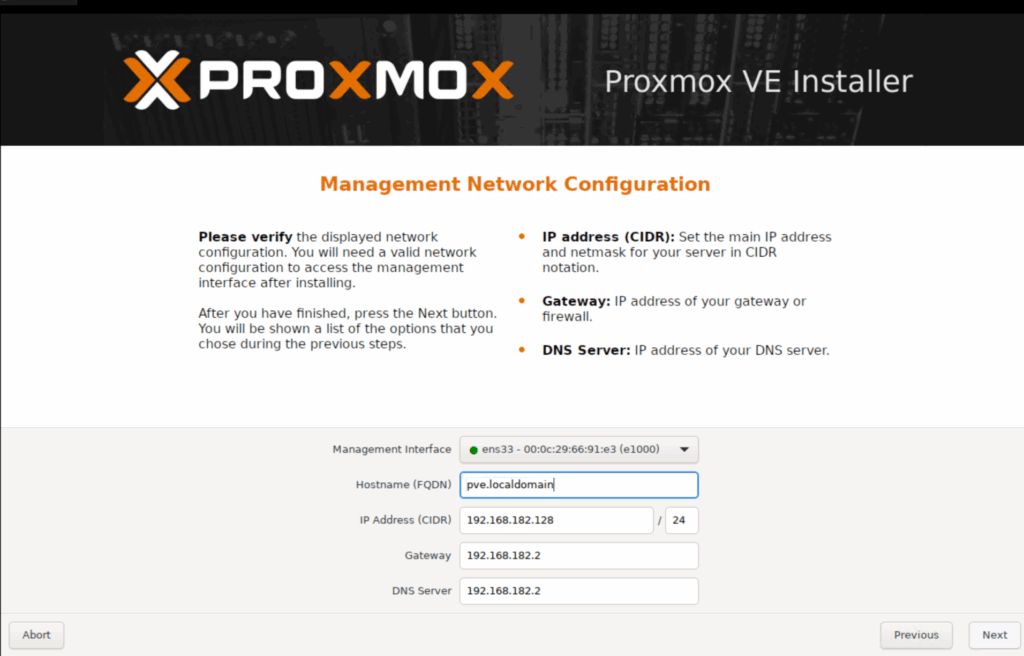
Then click Install
4 – Prepping Proxmox
When the Proxmox server installs and reboots you should see a screen like this

Mine says this
https://192.168.182.128:8006
Open a web browser on the machine this is running on and enter that exact value, then click Advanced on the warning
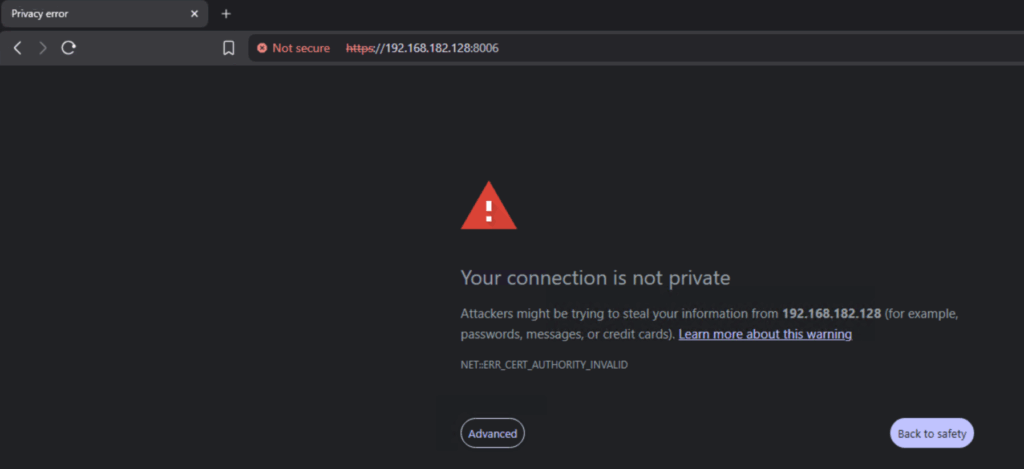
And click the Proceed link at the bottom
This security warning is just to say the system sound trust the encryption, this is normal and expecetd
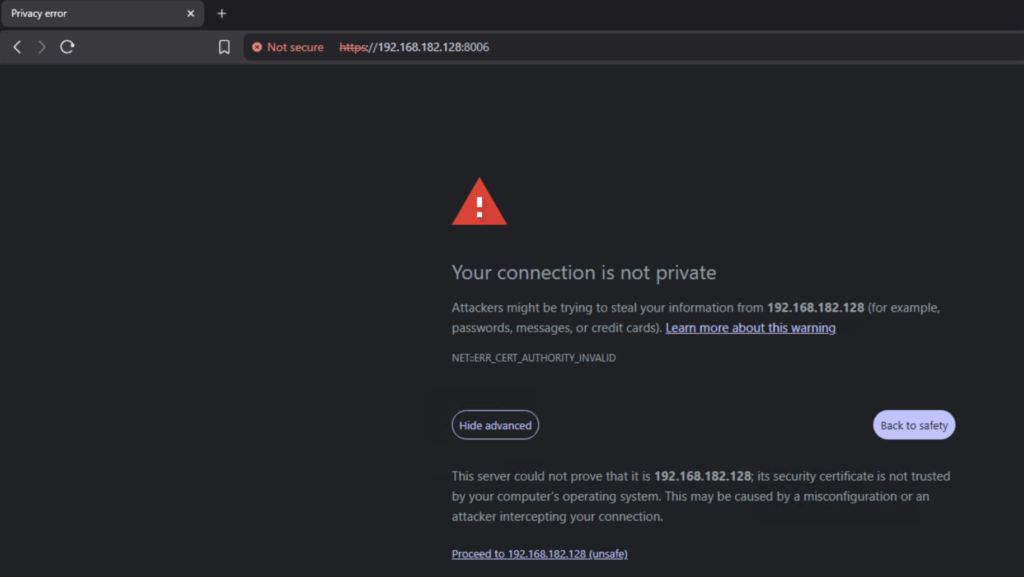
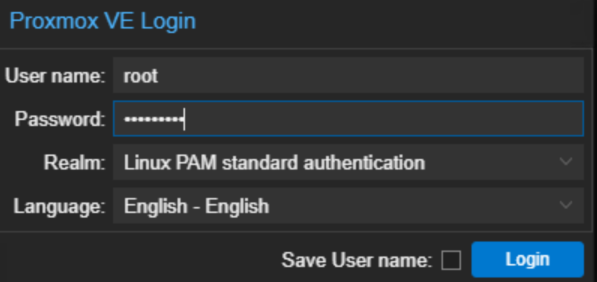
Now we need to log in, enter the username root, and the password you set during the last section when we installed Proxmox, and click Login
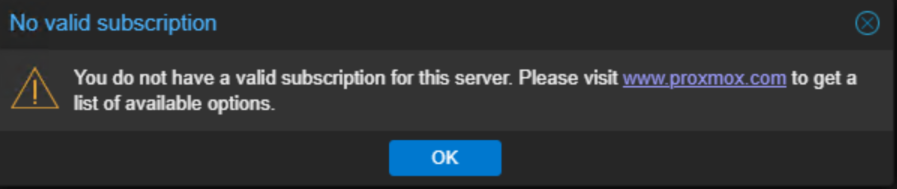
You’ll see this pop up, click ok to dismiss it
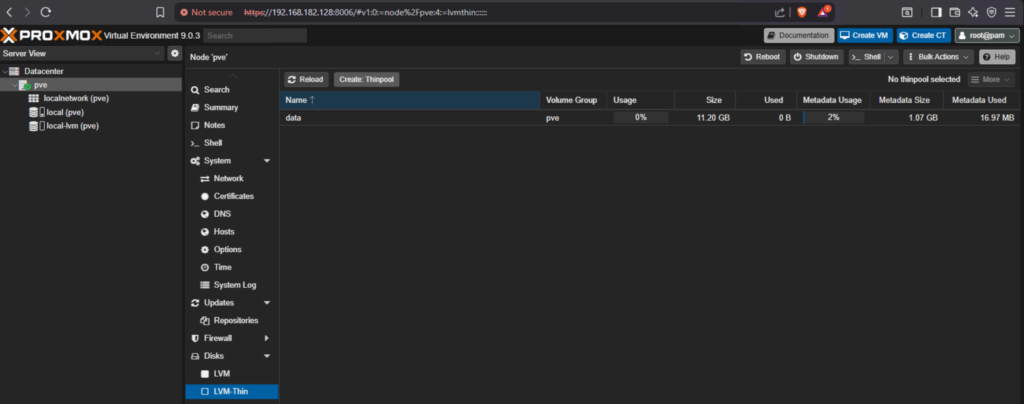
Now we need to setup our 300GB disk for VM data, click the host, mine says PVE
Then click Disks/LVM Thin and click Create Thin Pool
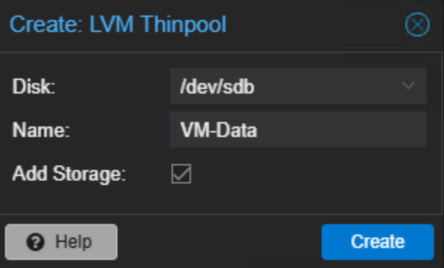
The pre selected disk will be the 300GB one we setup, and give it a name, just try to not add spaces, then click Create
We now need to upload our Windows Server 2025 ISO to the Proxmox host
Click the local (pve) storage on the left, then click ISO Images/Upload
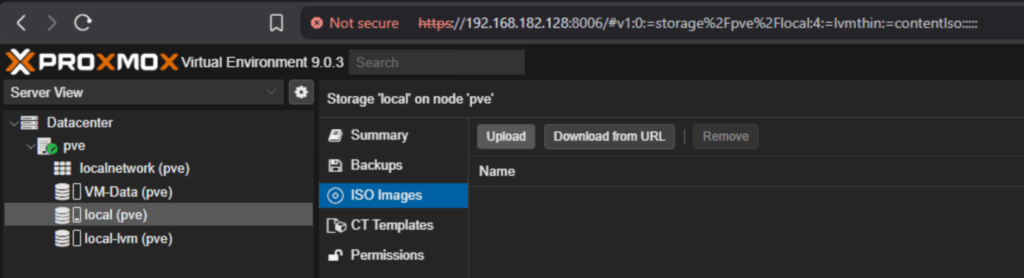
Click Select File
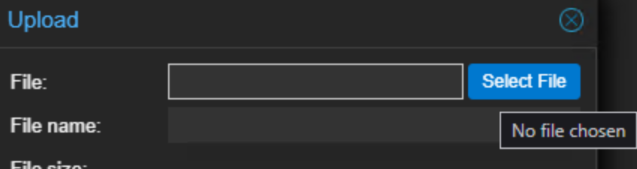
And double click your Windows Server ISO

Then click Upload
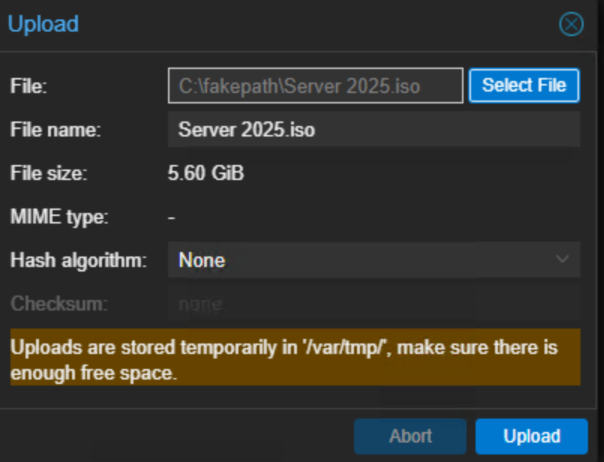
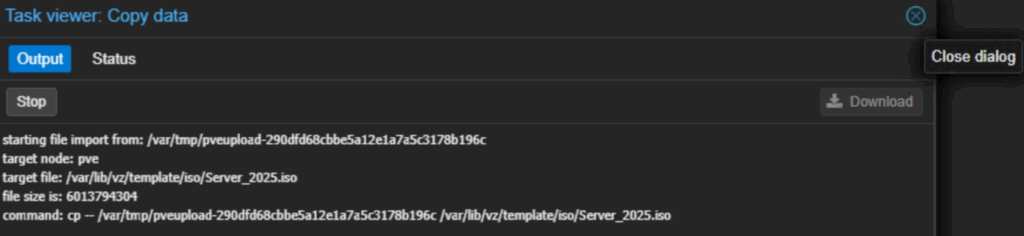
Leave this menu open until its finish
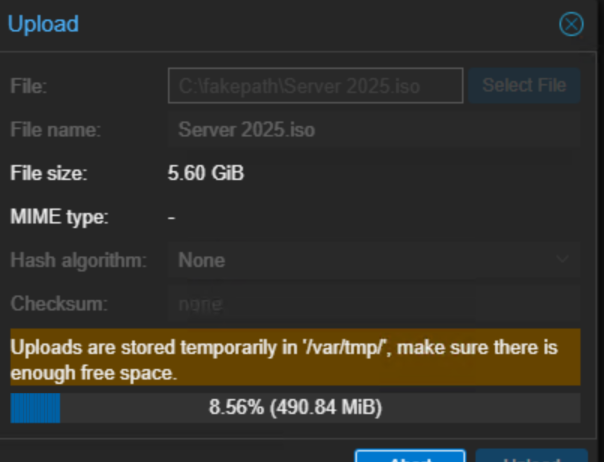
When you see this box, in the top right, click the x to close it
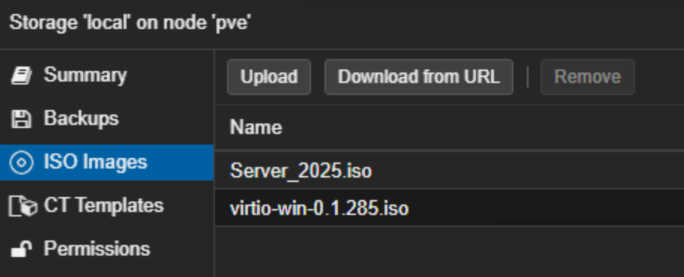
If we refresh the page, we will see the ISO is now available

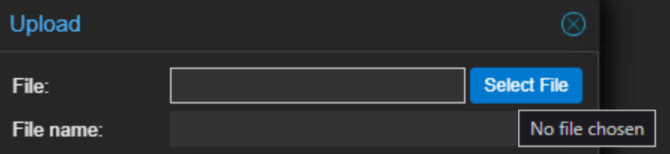
We need to click Upload again, click Select File again
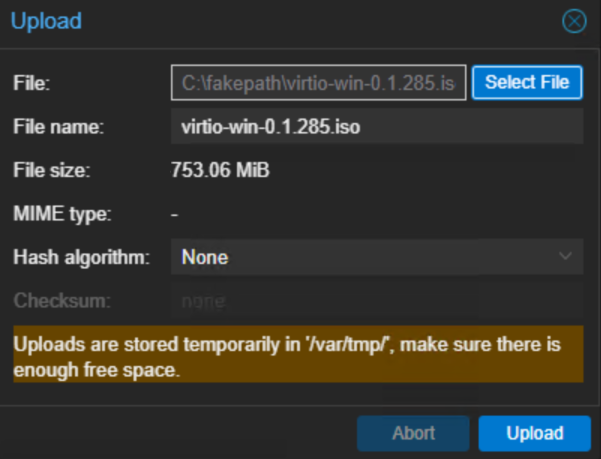
And double click the windows IO driver ISO we downloaded earlier

And click Upload and wait for it to finish
When thats done click the dialog again
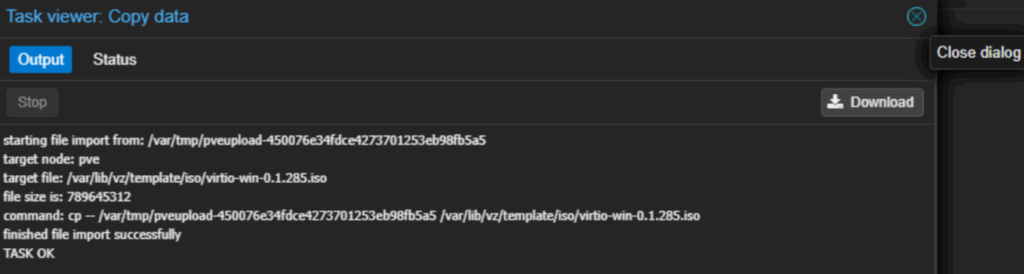
And we’ll see both ISOs
5 – Creating The VBR Server VM
Next, right click the host, mine is called PVE, and click Create VM
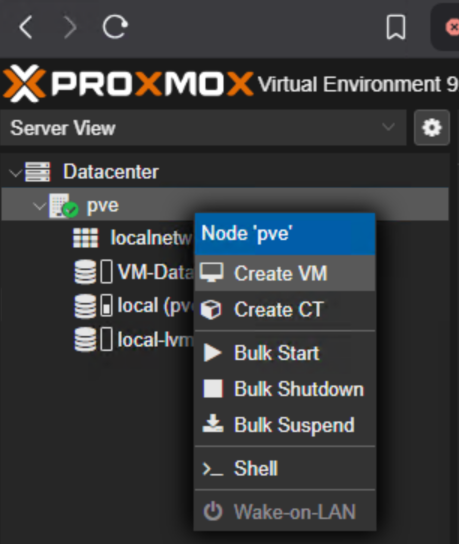
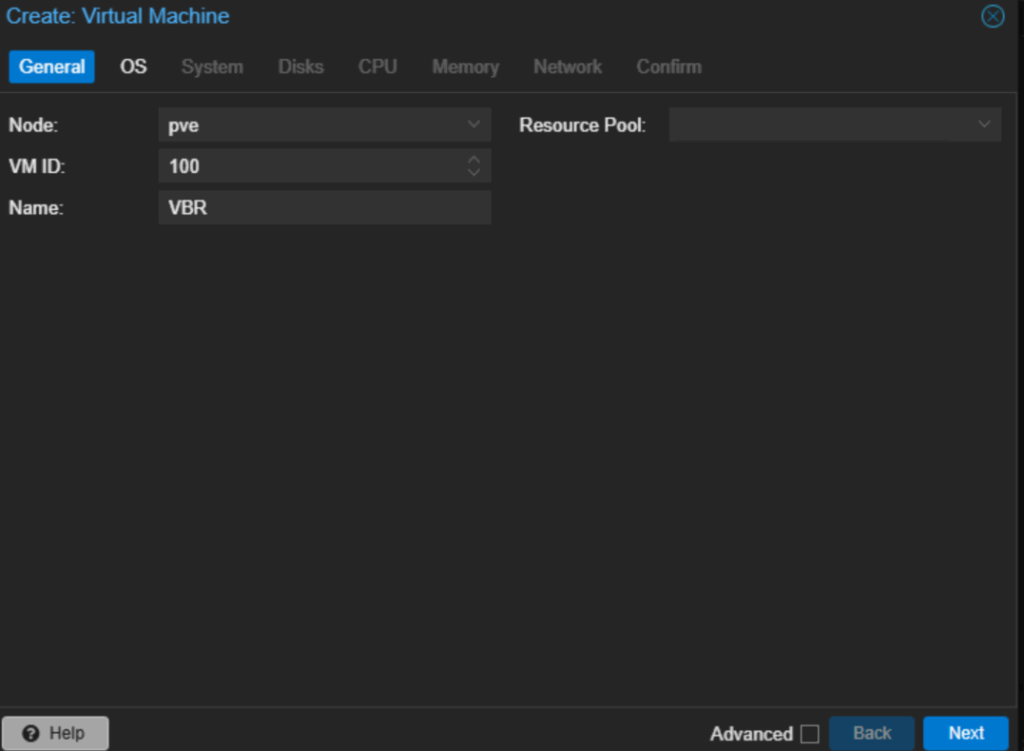
Enter a VM name and click Next
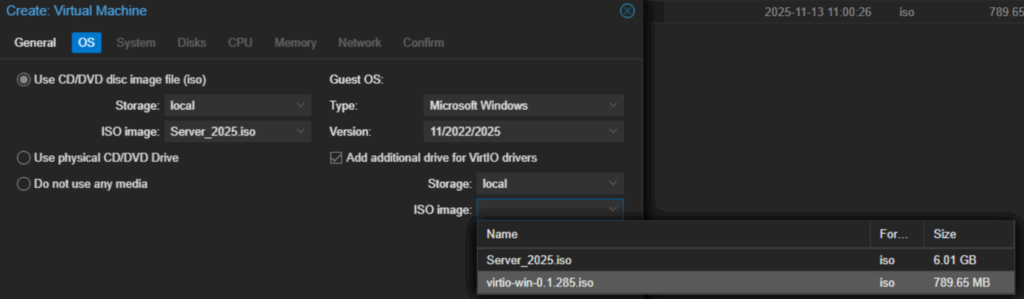
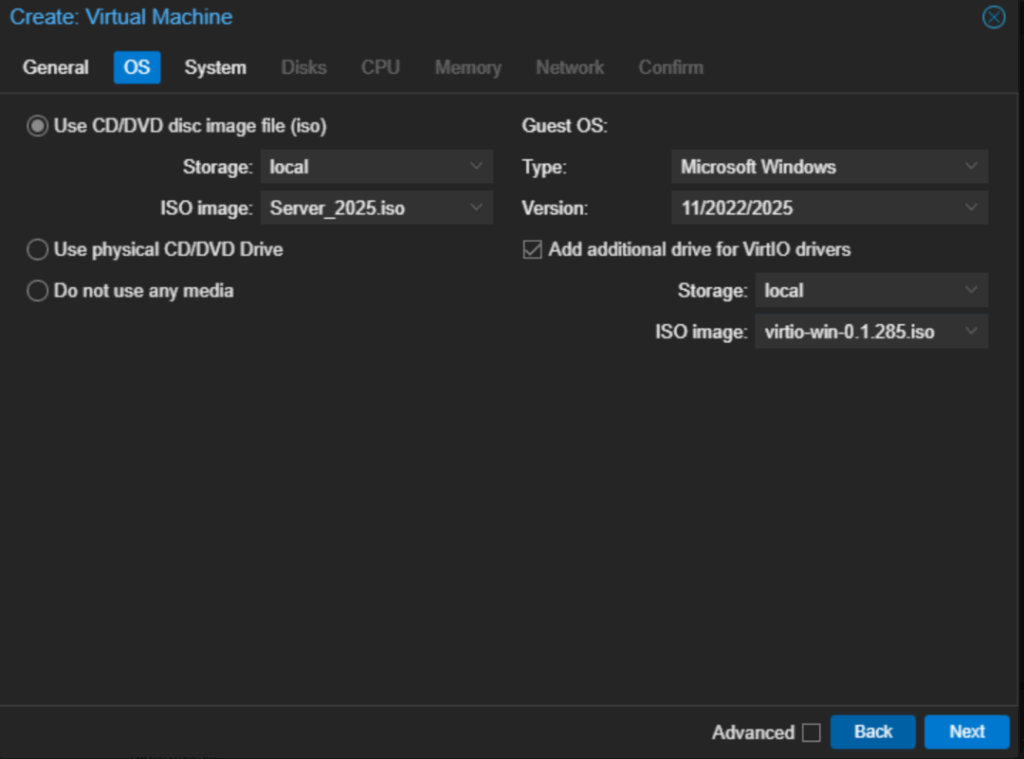
Under ISO image, use the drop down to select the Windows ISO
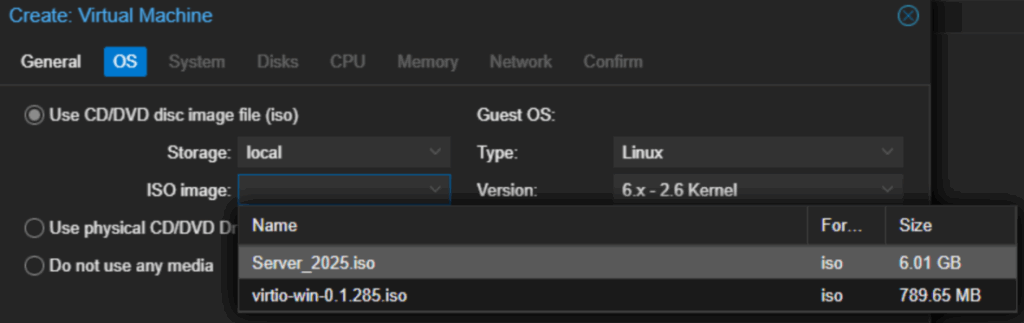
On the right side, change the guest OS to Microsoft Windows, the version should be 11/2022/2025, check the box to add a drive for the VirtIO drivers, then use the drop down to select the virtio ISO we uploaded
Then click Next
On the left, on EFI storage, use the drop down to select the VM data disk we created earlier, and uncheck the box for Add TPM, then click Next

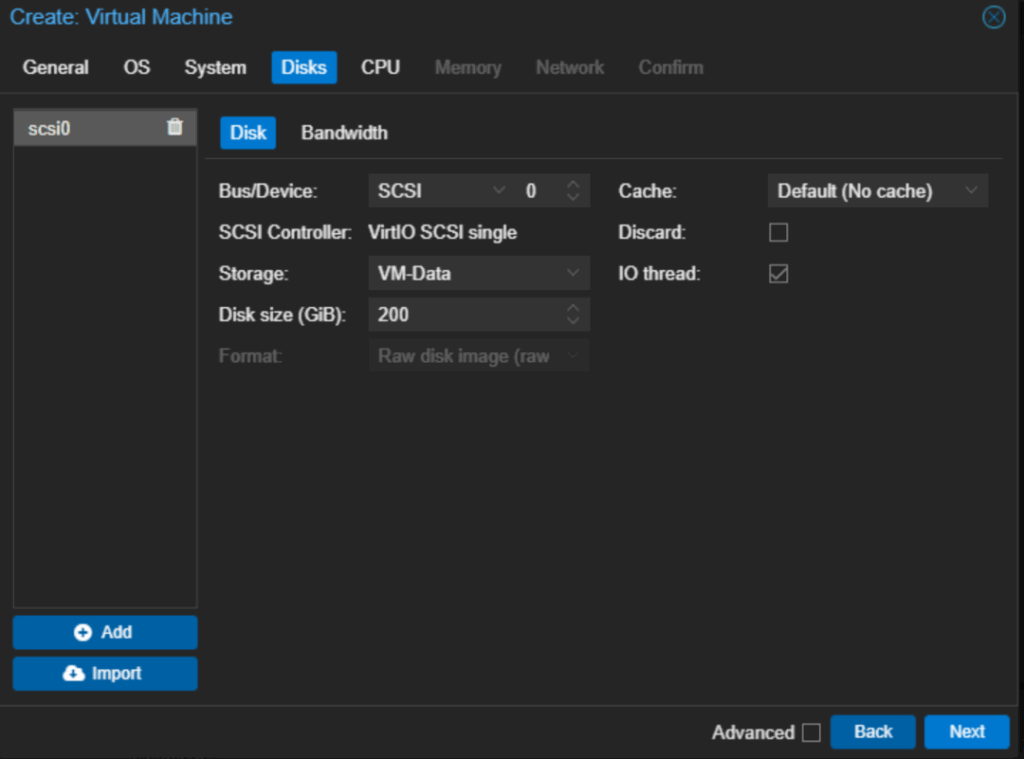
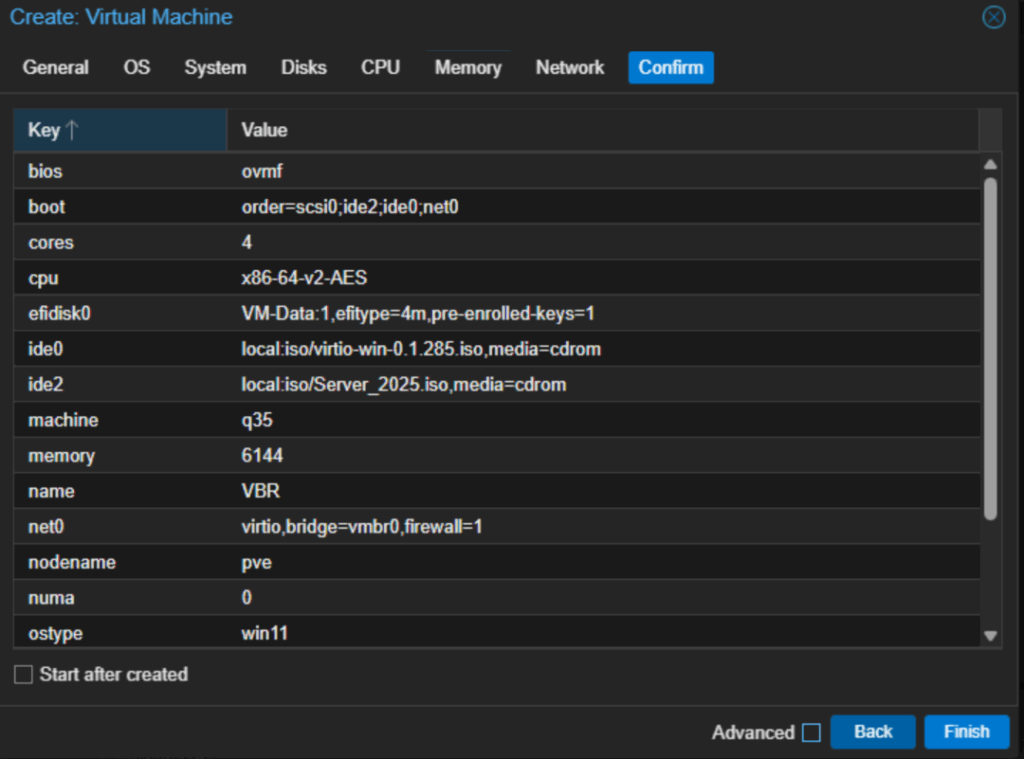
Enter a disk size, this will vary based on the size of the Proxmox second disk, mine was 300GB, so I entered 200GB leaving 100GB for s a VM or two, then click Next
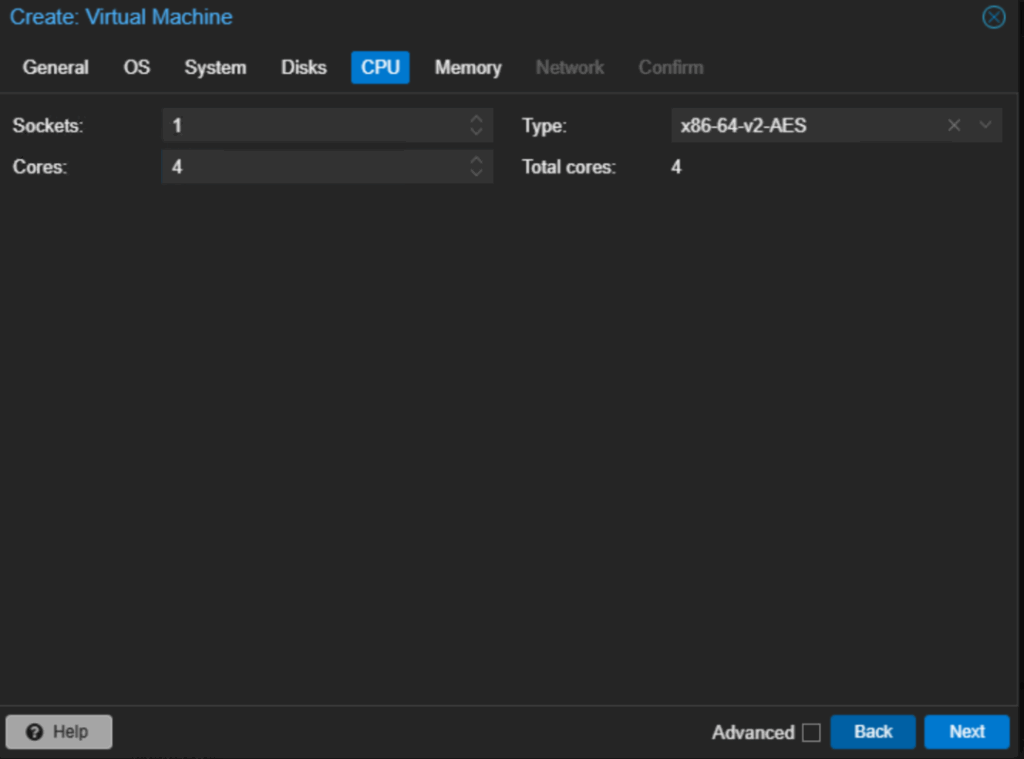
Enter the number of CPU cores, it should have a good amount, leave 1 or 2 cores free on the Proxmox host, as my Proxmox server has 6 cores, I opted for 4 here, then click Next
For memory, use 6144, for 6GB, this is enough to get VBR up and running in a lab, then click Next

Leave the networking on default and click Next
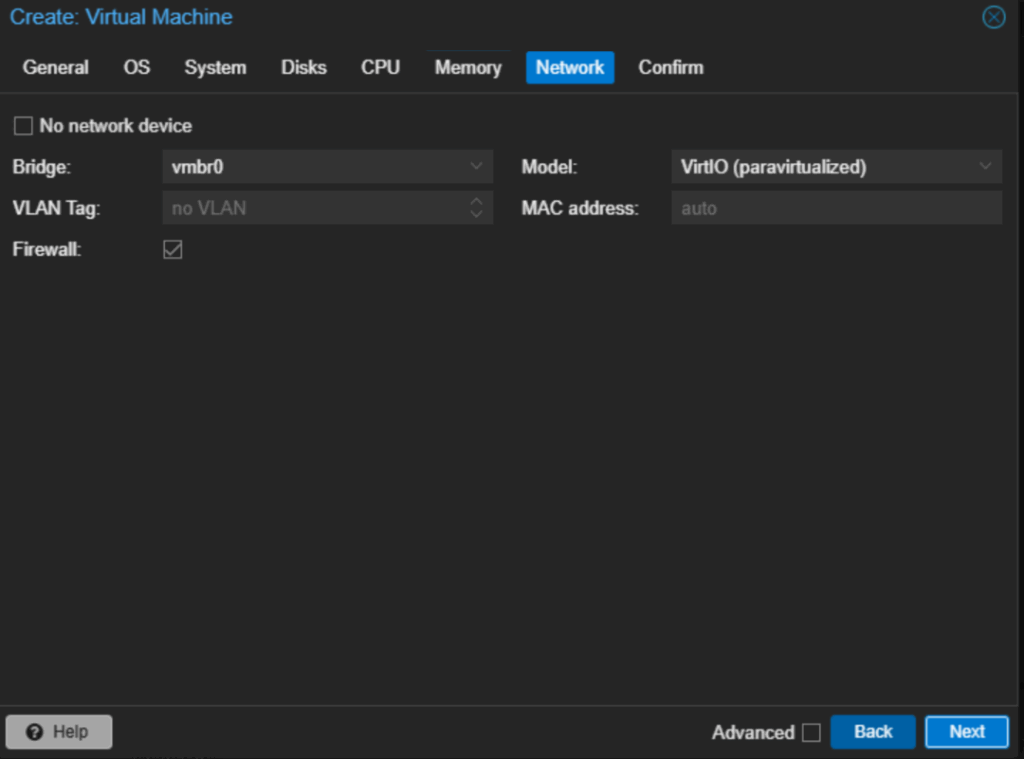
Then click Finish
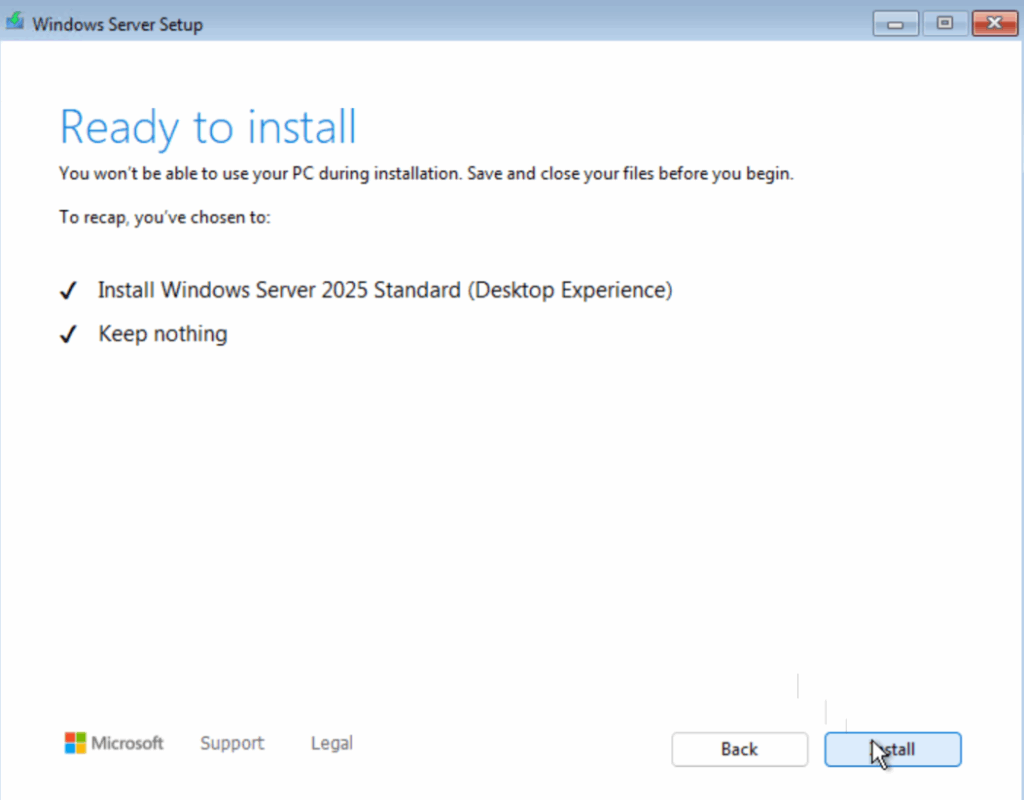
6 – Installing Windows Server 2025
Click the new VM, it shows up with the ID, which in my case is 100, then on the right, click Start
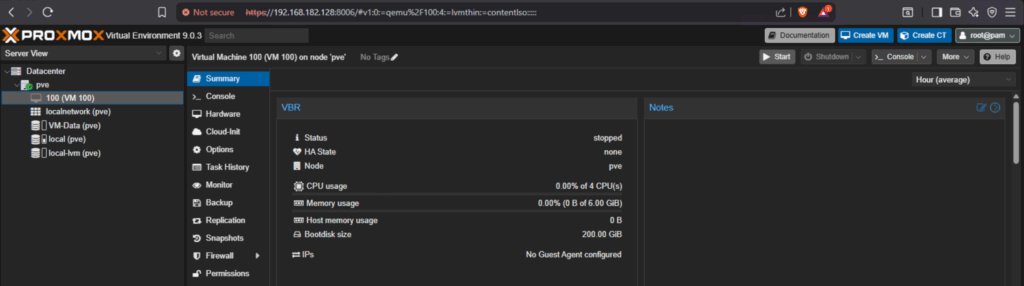
Then click Console on the right

You’ll need to be quick to mash any key to install from ISO
Its this you’ll want to look for

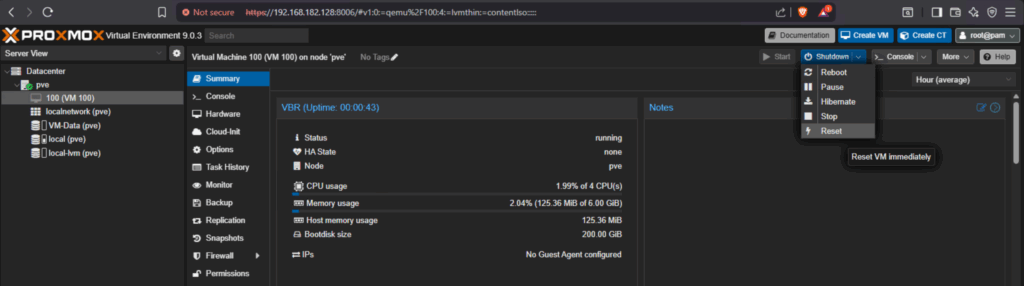
If you miss it, it will look like this
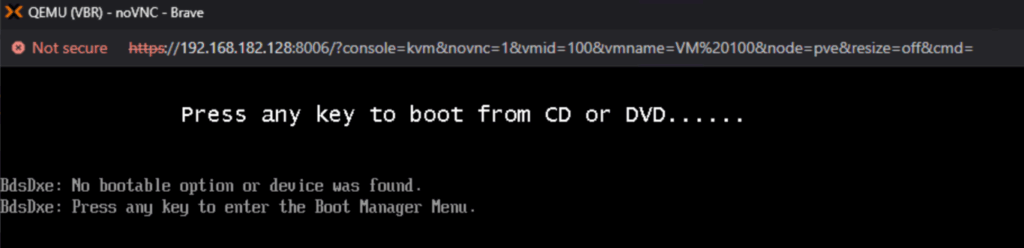
If you see that, click the Shutdown drop down back on the VM menu and click Reset, then quickly open the console and mash any key to boot into the Windows Installer
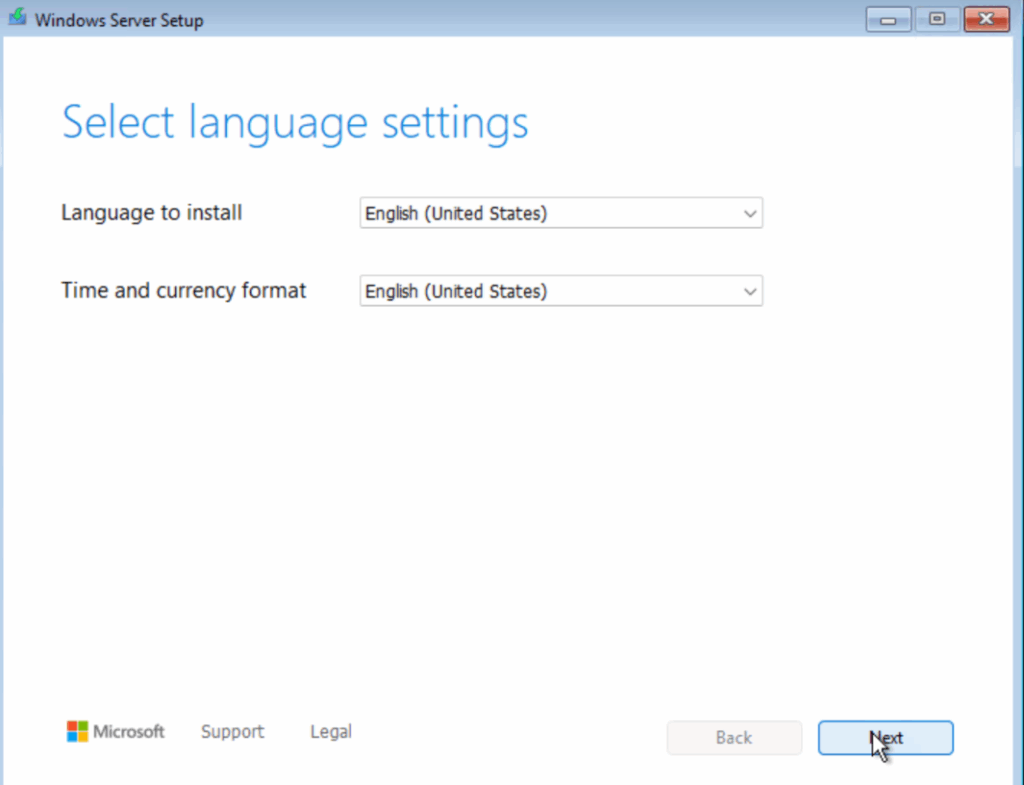
Click Next
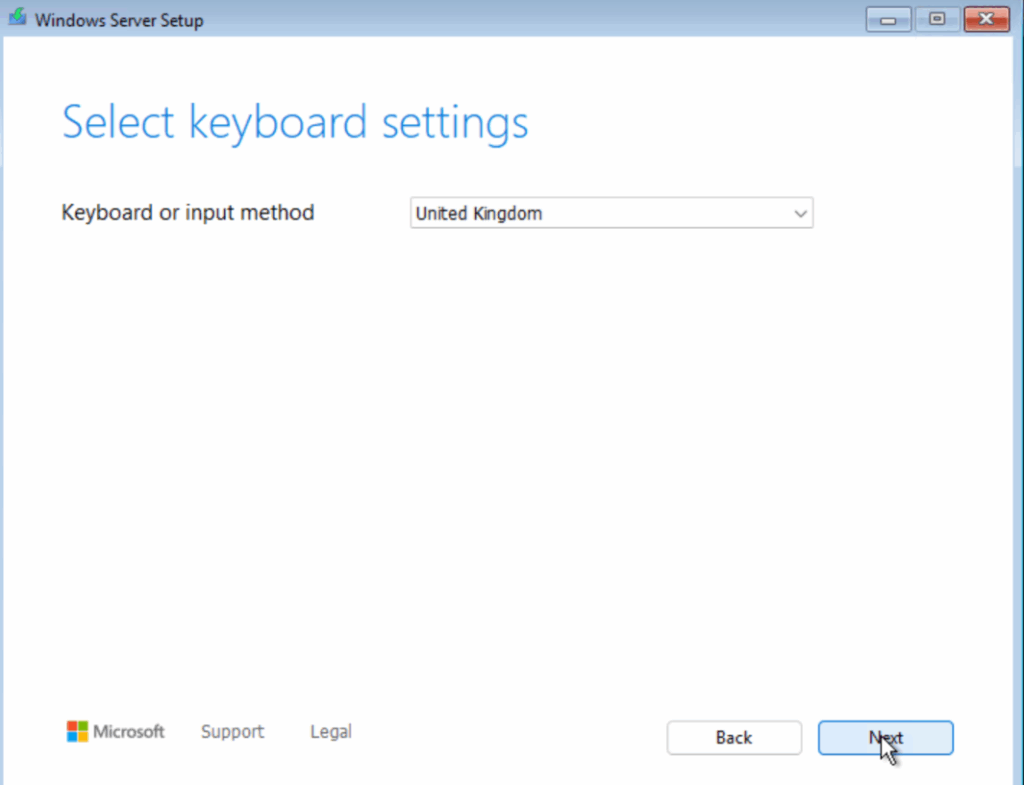
Set the keyboard to match yours and click Next
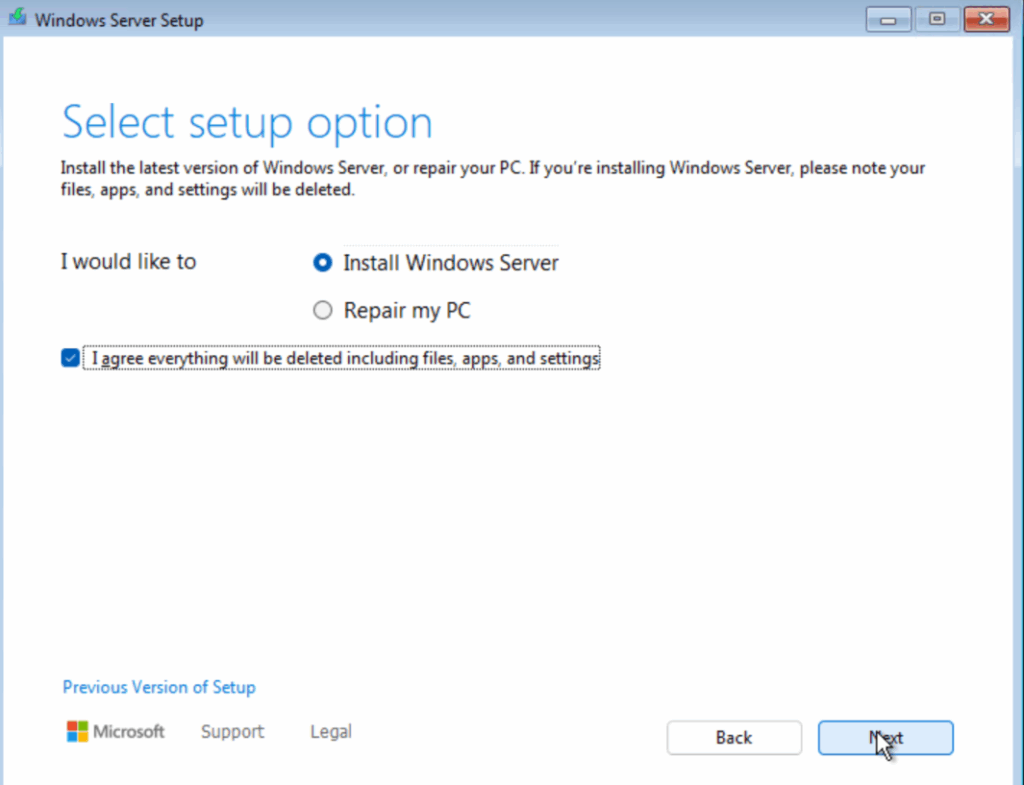
Check the box to agree everything will be deleted and click Next
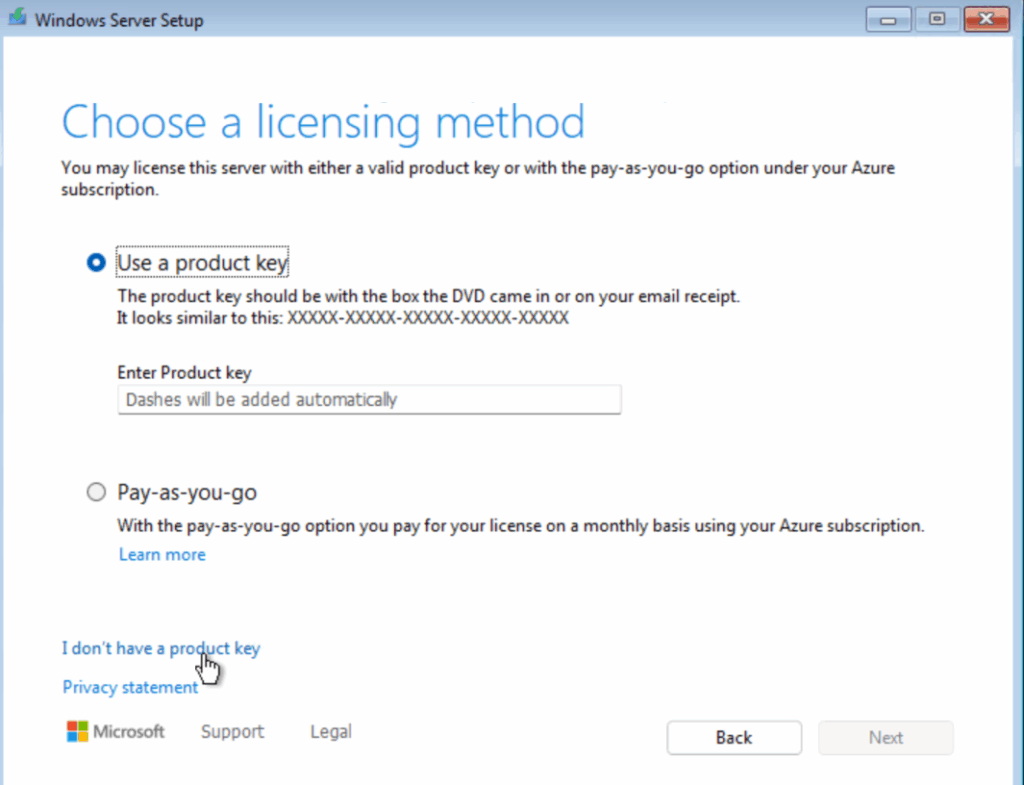
Click I Dont Have A Product Key
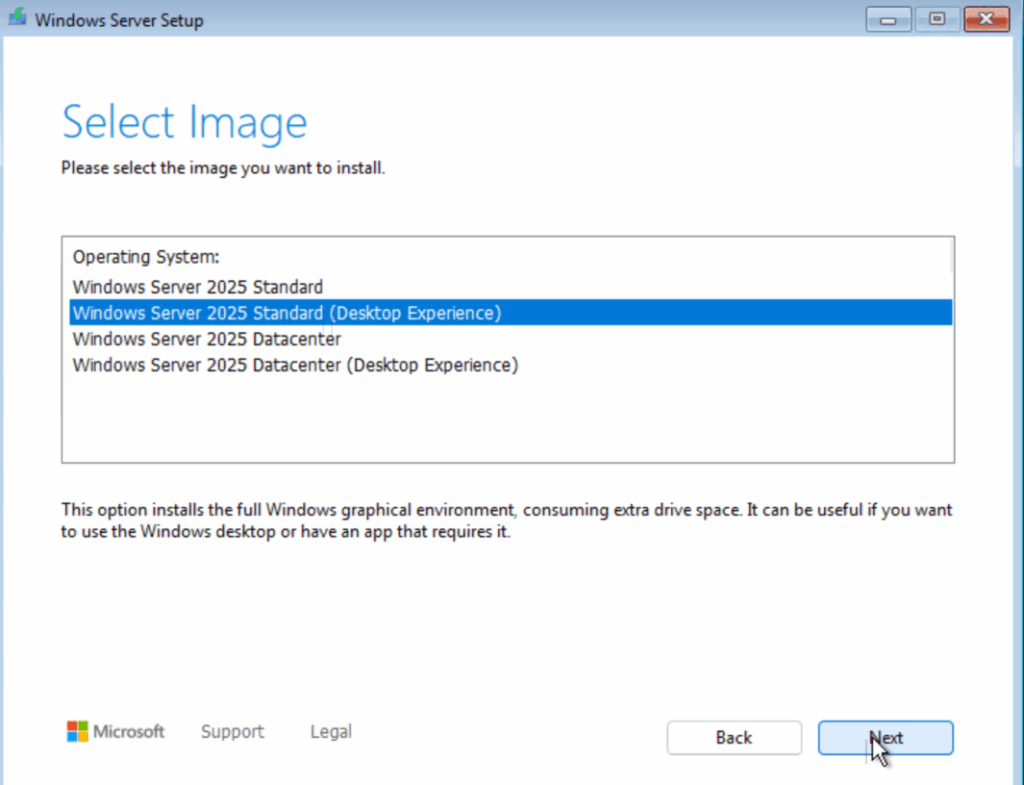
Then Select Windows Server 2025 Standard, but ensure you select the one that says desktop experience as we need the Windows GUI, then click Next
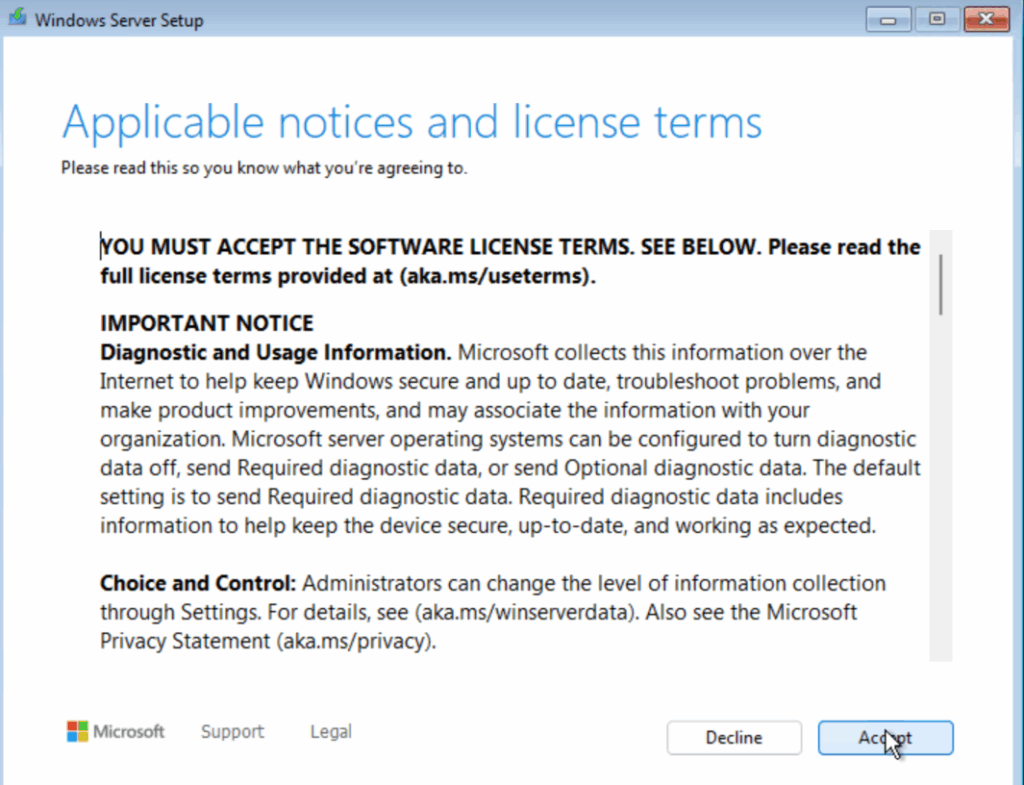
Accept the EULA
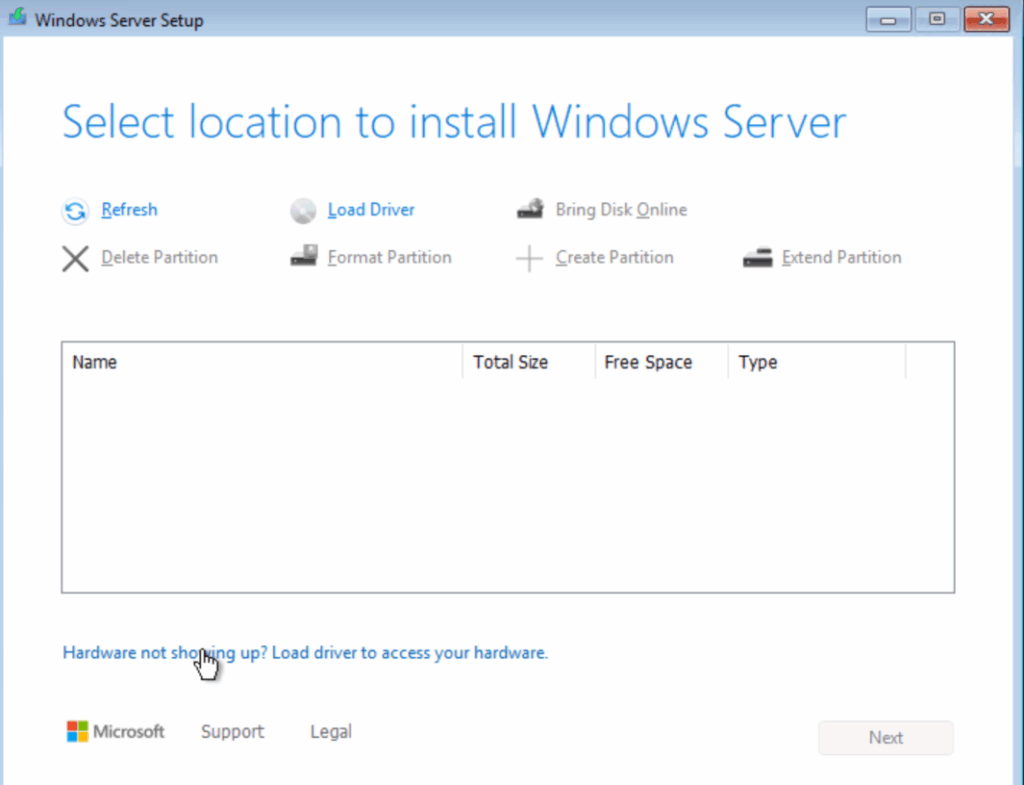
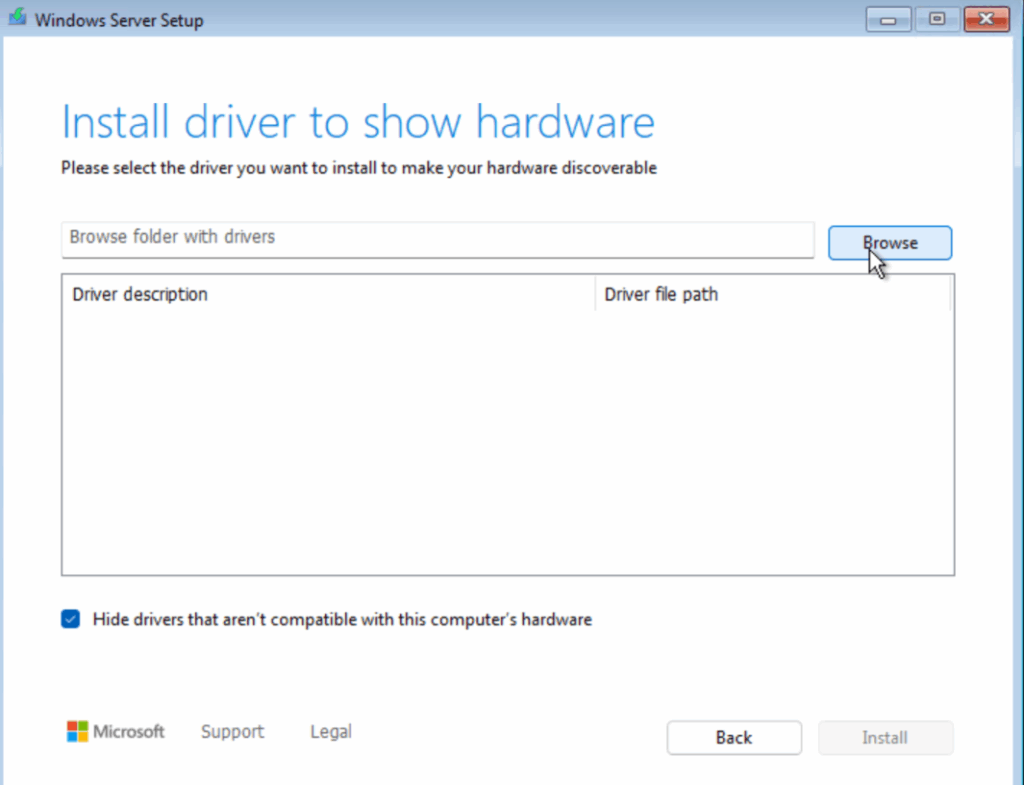
Now, we wont see our disk, thats expected, click the option at the bottom for Hardware Not Showing Up
Click Browse
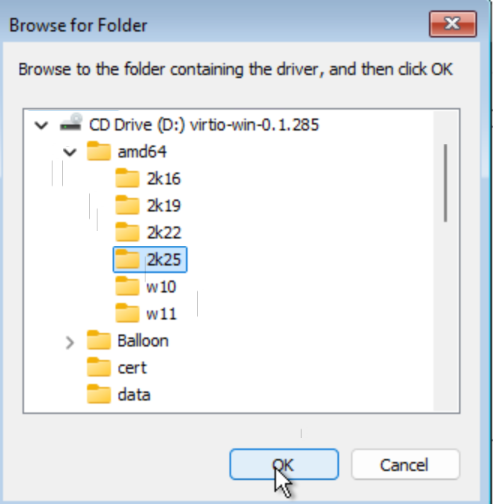
Expand the VirtIO disk, then expand the amd64 folder and click the 2k25 folder and click ok
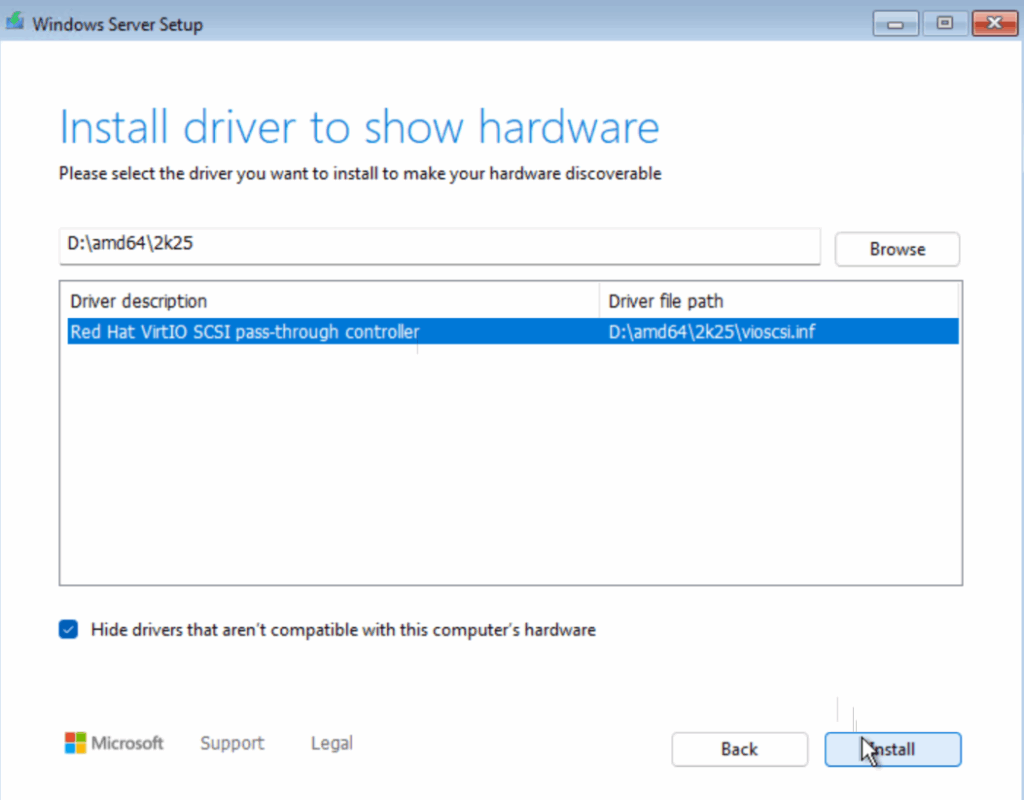
Click the listed driver and click Install
Now our disk will be visible, click that and click Next
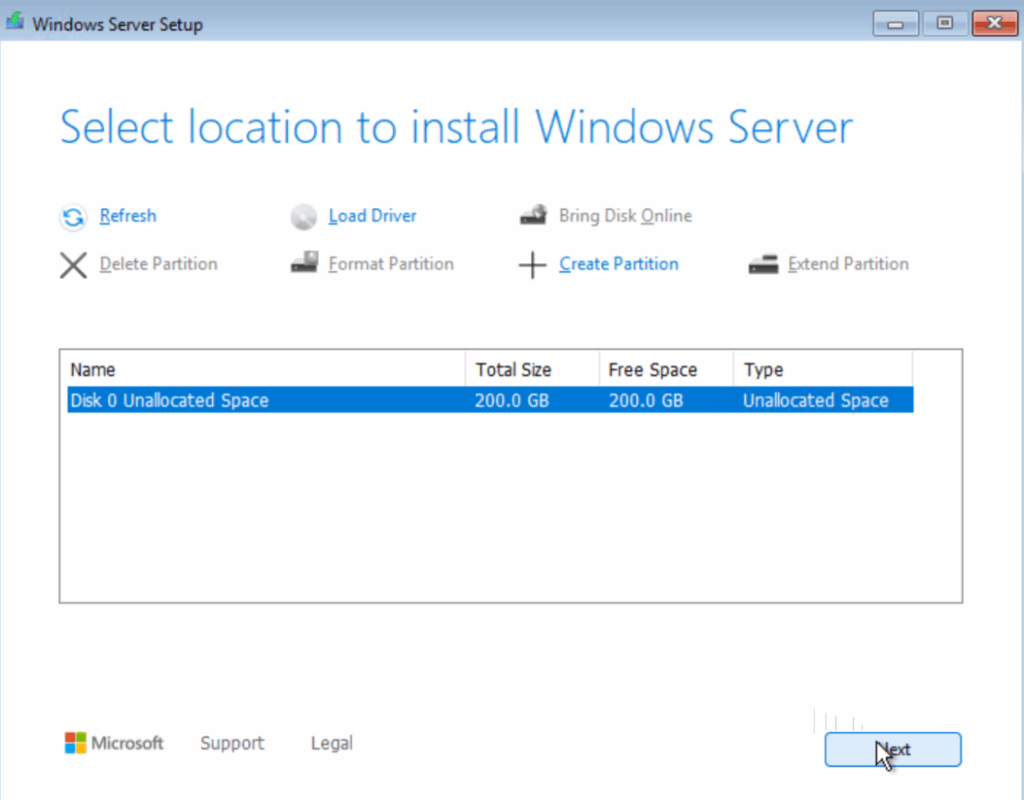
And click Install
This will take a while